
The task this time is difficult.
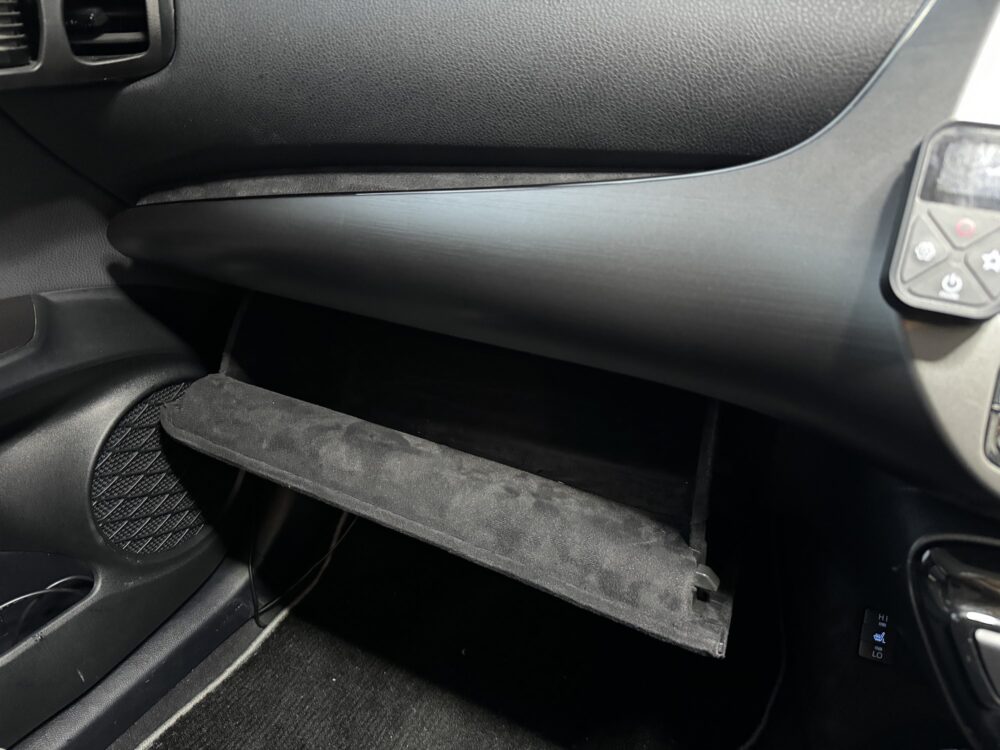
All surfaces inside the glove box are covered with Alcantara.
Of course, it is also attached to the knob on the front.
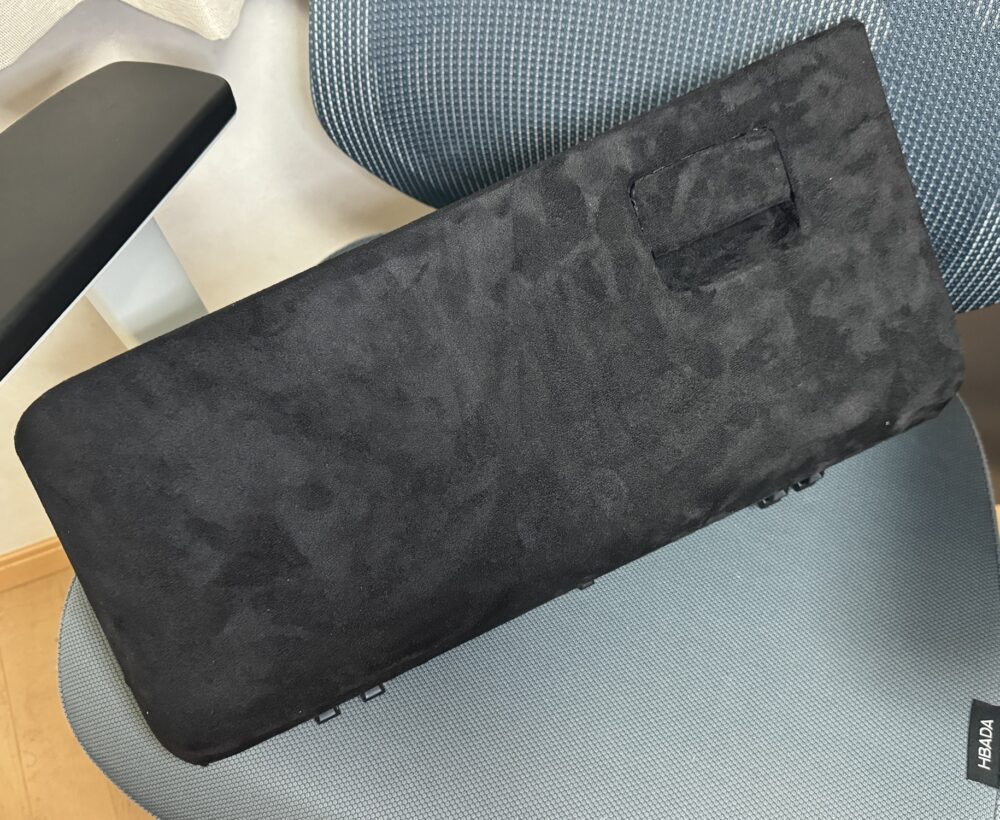
Finished product
It ended up like this.
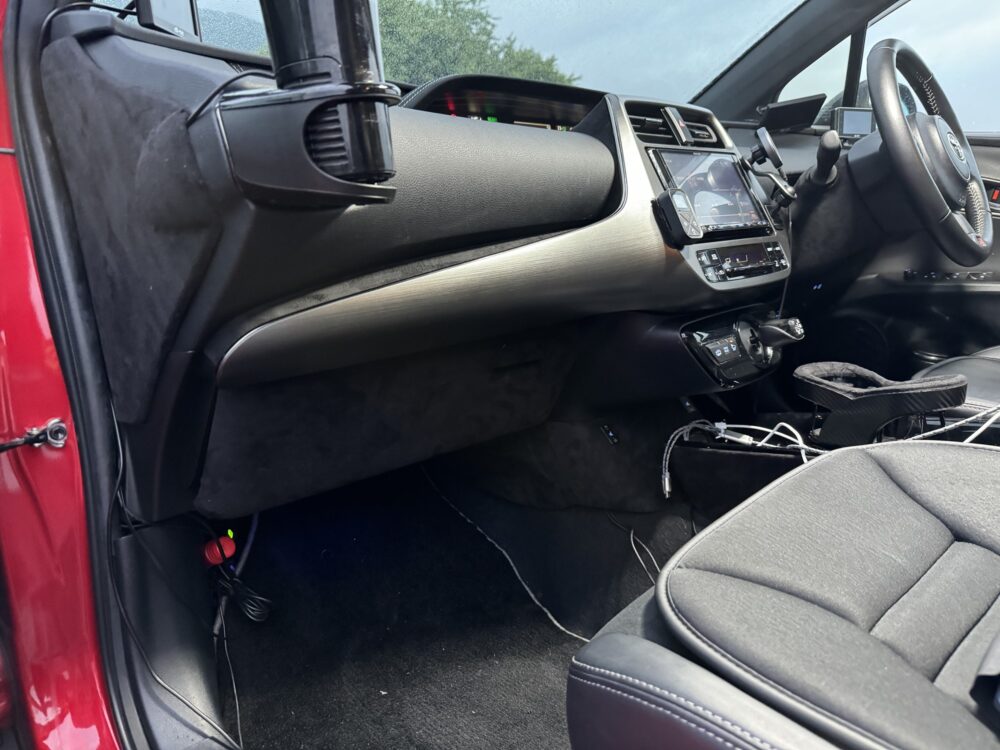
This is what happens when you put it on your car.
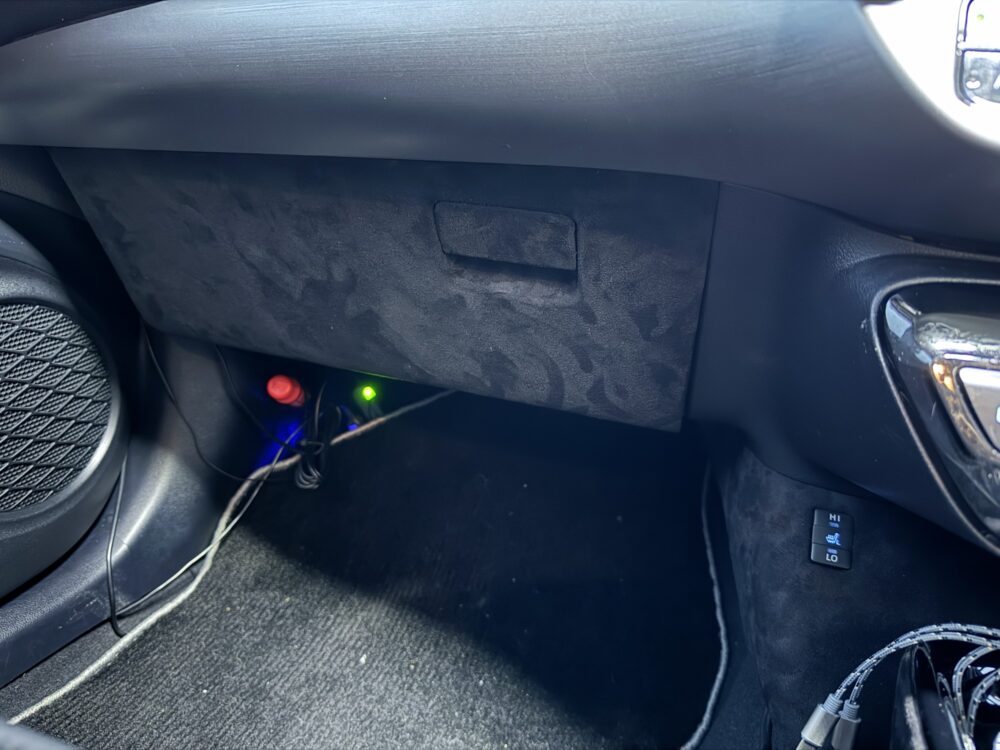
Maybe it’s because I took the photo early in the morning, but it’s so dark that I can barely see it…
It has completely disappeared into darkness.
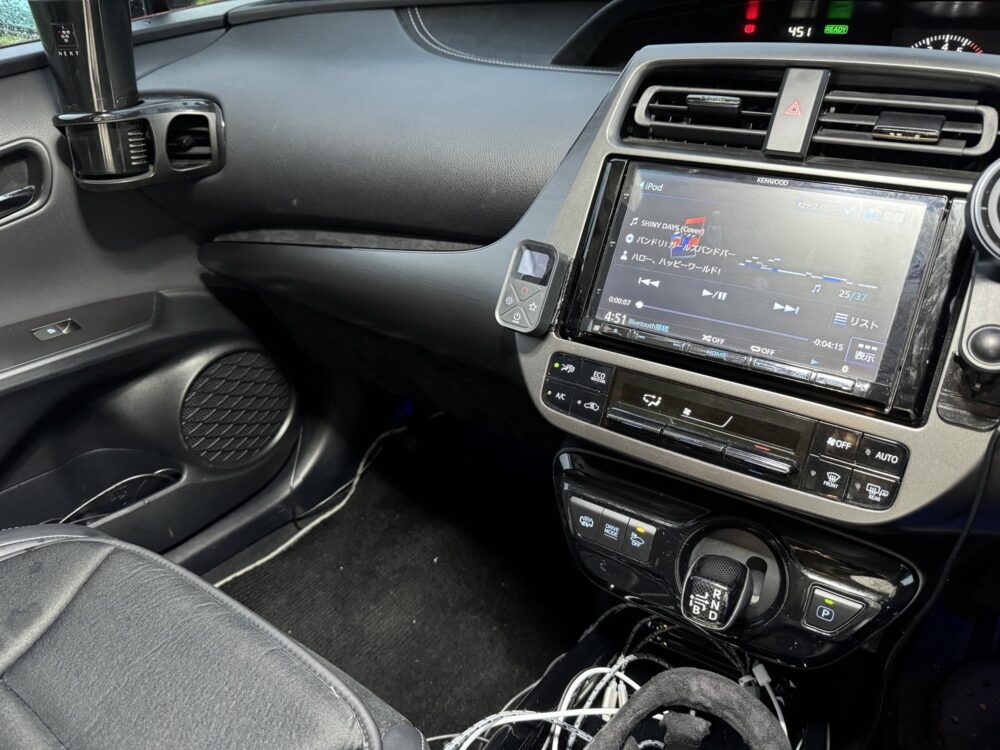
I tried taking pictures from the left side, but it was hardly noticeable.
However, since one side of the plastic is wrapped in Alcantara, the sense of quality has been greatly improved (according to an announcement from Imperial Headquarters).
But it’s definitely Alcantara.
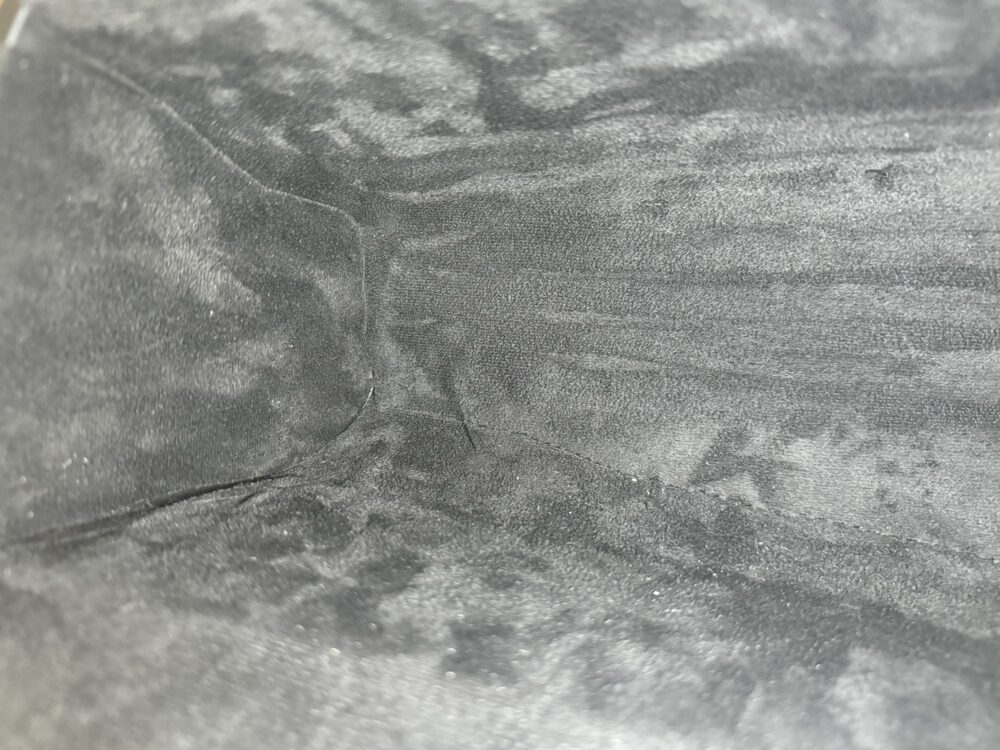
My personal point is this top surface that goes from the front to the inside.
By inserting a design cutter into the step and cutting the fabric accurately, the appearance of a neatly connected surface is achieved.
My only regret is the knob for opening the glove box. Because I made a mistake in rolling it up, it ended up in an awkward shape, and when I opened it, the fabric interfered with the top. Repairing the knob alone is easy, so I’ll think about it later.
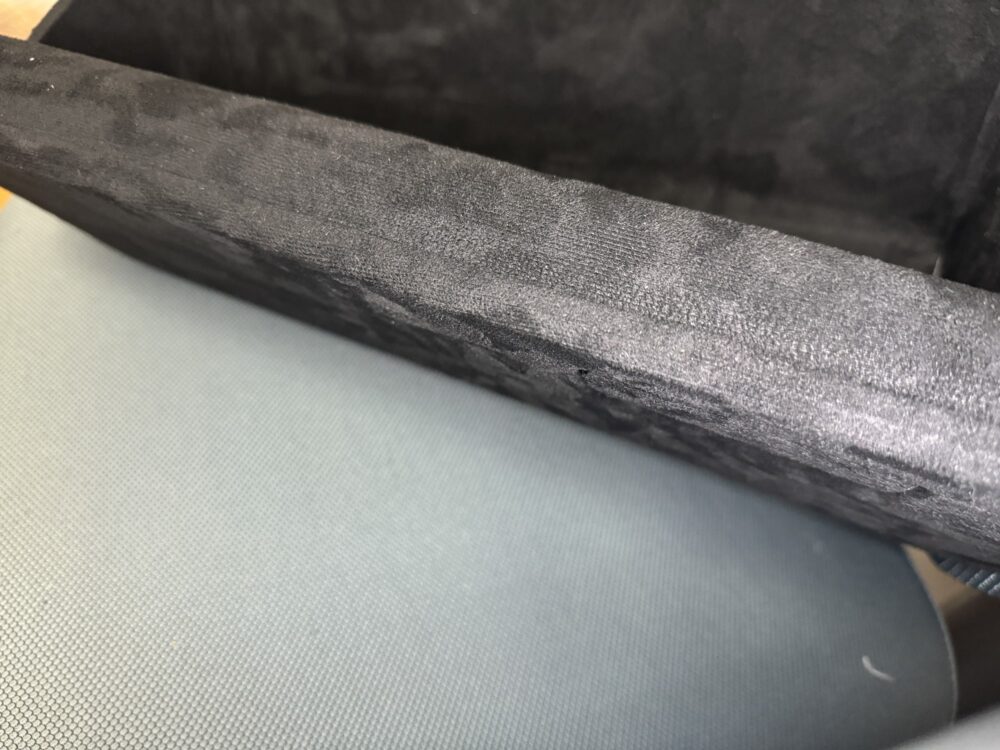
When taking pictures with a MagSafe-compatible LED light attached to a smartphone, the graininess becomes quite noticeable.
Cuts and wrinkles between the materials are clearly visible…
However, it is hardly noticeable when seen with the naked eye, so it probably passes the test.
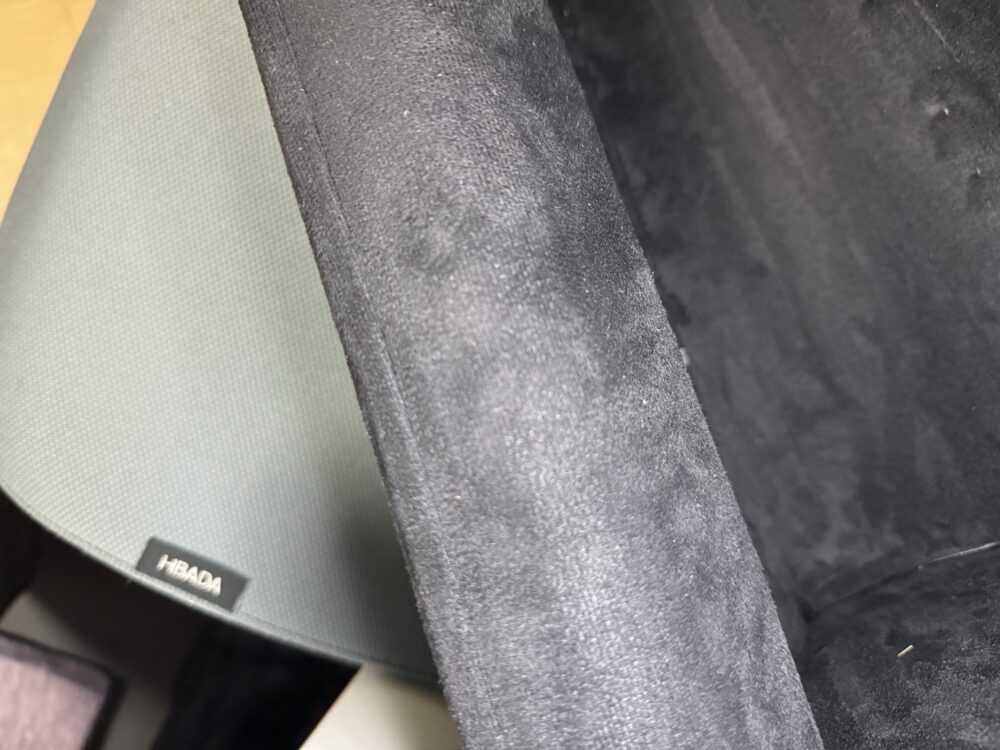
I missed pasting the back part on the other side, but I didn’t notice it until it was completed, so I think I’ll leave it as is.
You can see that it’s already dirty. Maybe in a few months it will be covered with dust and I won’t be able to remove it…
About work
Basically, I copied Mr. Kurumaniak’s work scene, but I added some arrangements and improvements.
In the video, the model is made using double-sided tape, pasted onto Alcantara fabric, and then cut and pasted.
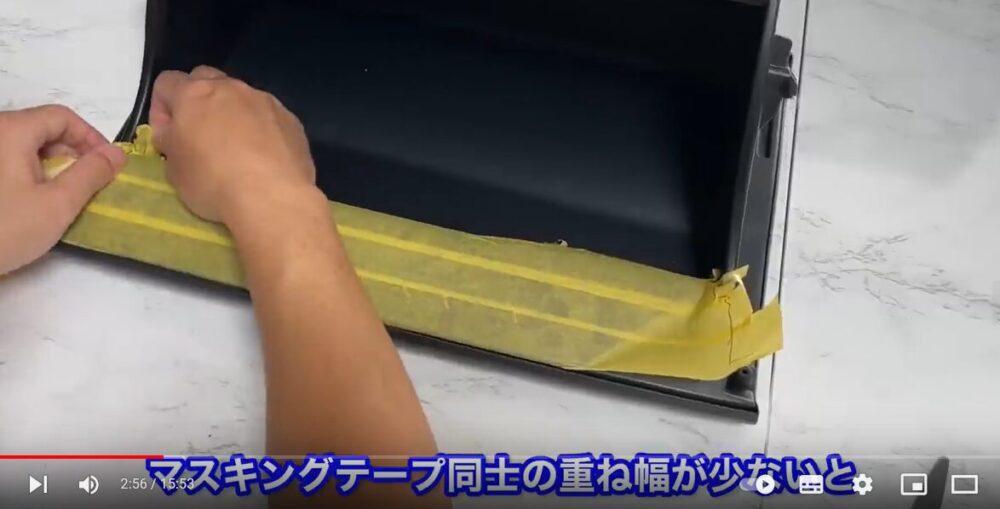
However, with this method, the adhesive force of the masking tape is too strong.
I didn’t take any videos or photos, but the masking tape didn’t come off during the final peeling stage after it was pasted, and the fabric was taken away .
In the process, the fabric underneath peels off and stretches, ruining the part that was neatly applied without wrinkles .
Attempts were made to reduce the damage by using masking tape with moderate adhesive strength and spraying deodorizing spray on the adhesive surface (the purpose was to spray water), but this did not solve the problem.
This cannot be said to be an ideal method.
It’s not really a solution, but I took the approach of applying paper and cutting it appropriately.

After cutting out a large amount of Alcantara fabric, I tried it out and roughly cut it to match the shape.
This worked best.
By the way, it’s better to stick it on the sides first .
I don’t have a picture of the work in progress, but the best way to attach it was to first peel off the release paper about 2 to 3 cm, fold it in the opposite direction, and then apply the glue at the tip to the innermost part .
Move it forward a little, then fold it again using the release paper and glue. Make sure there are no wrinkles in that area. Repeat this.

The shape is the shape, so it won’t be perfect.
I will write down my misunderstanding.
First, let’s paste it so that there are no big bubbles. If it doesn’t clear well, just peel it off and reapply it.
I regret that I should have degreased it, applied a primer, and warmed it up with a heat gun to strengthen the glue’s adhesion.
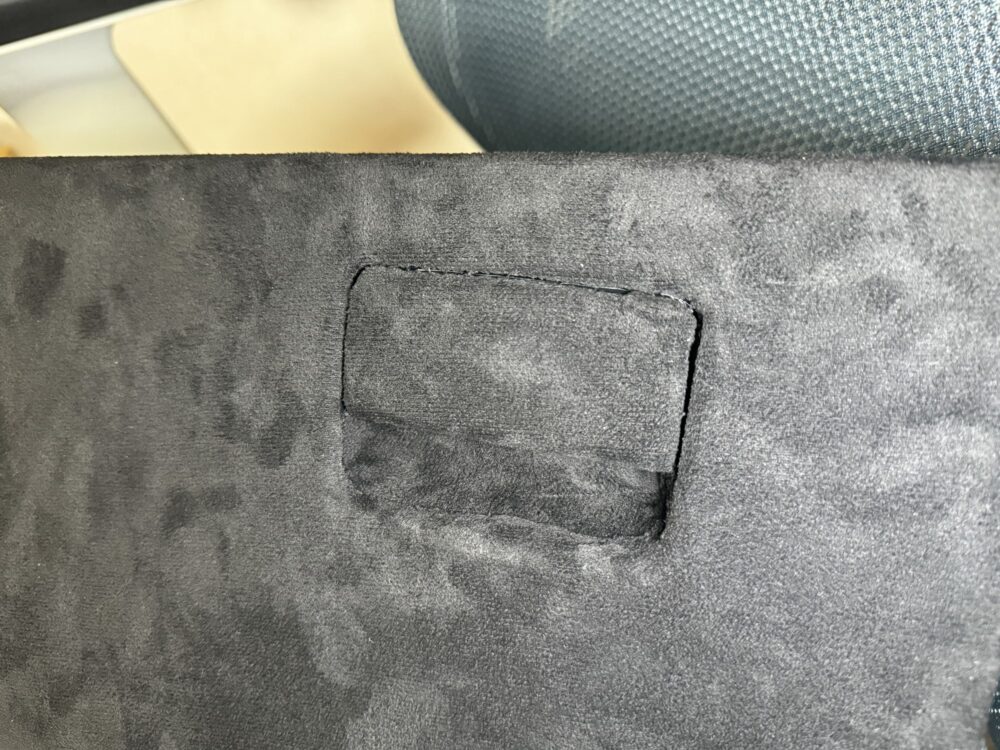
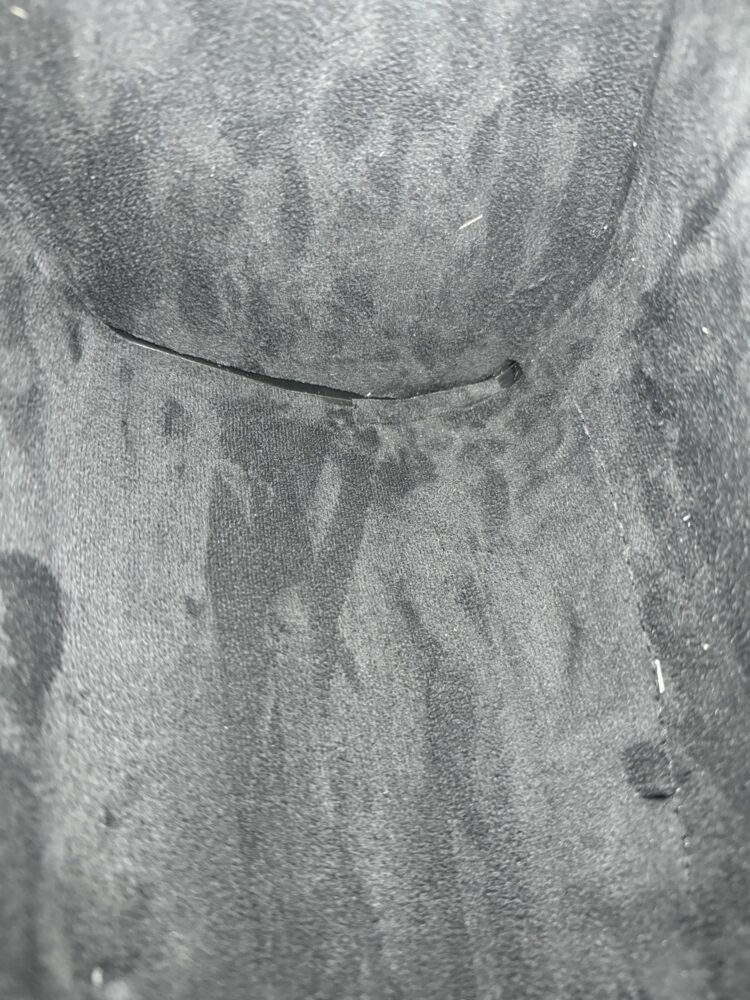
Next, regarding the crease, in my case, perhaps because I skipped the preparation of the base, it didn’t stick well and started floating.
I made a small cut in this part from above with a cutter and pushed it in. This will allow the air bubbles to escape through the cuts and push them apart, allowing the fabric to stretch and touch. The cut is not that noticeable either.
It’s a complicated shape, but once you get the hang of it, it’s surprisingly easy to do.

