I’m experimenting with publishing blog articles on Kindle.
In the process, I needed to somehow convert my WordPress blog articles into PDFs and upload them to Amazon Kdp.
But even after searching, I can’t find any useful methods.
If it wasn’t there, I decided to write it myself.
By the way, you can use it even if you don’t have Microsoft Office software installed on your computer.
Convert WordPress articles to PDF and upload them to Kindle (using Google Drive)
Microsoft Word is fine, but it has the drawback of being prone to bugs when pasting images.
Also, when I bought a new computer because it was damaged, I didn’t buy Office, so it didn’t come with it.
For now, let’s open Google Drive.
Click “+New” in the top left and select Google Docs.


Created in a new tab.

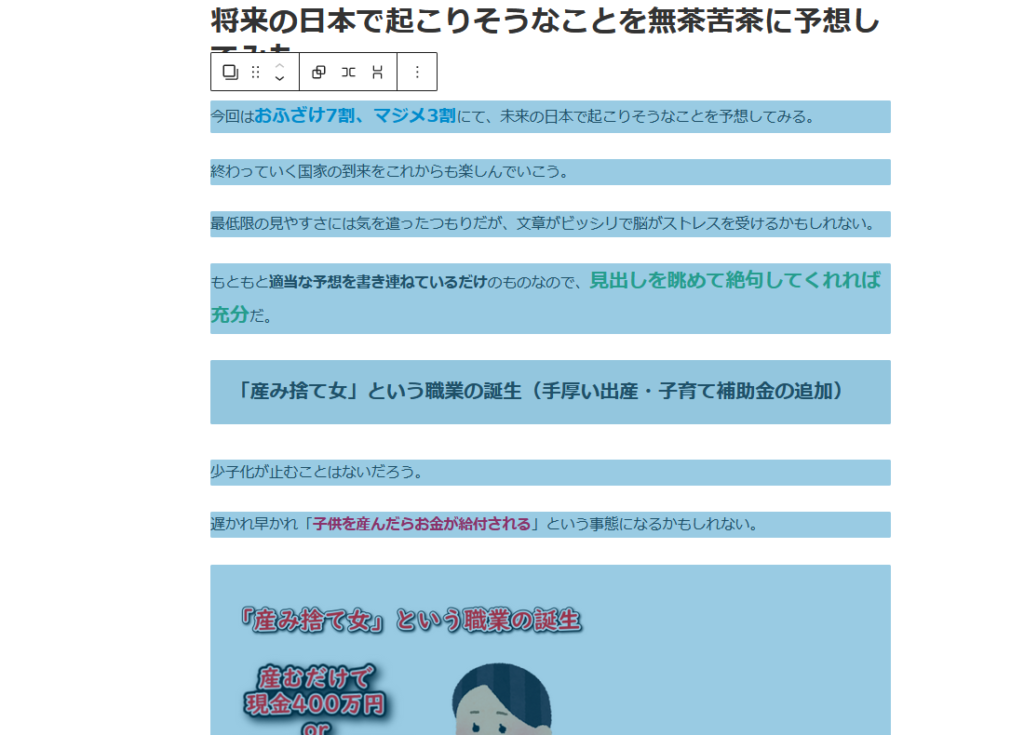
The only thing left to do is to do my best to select and copy the content of the article I want to copy.

You can only select one block with Ctrl + A, so try your best to select the entire text.
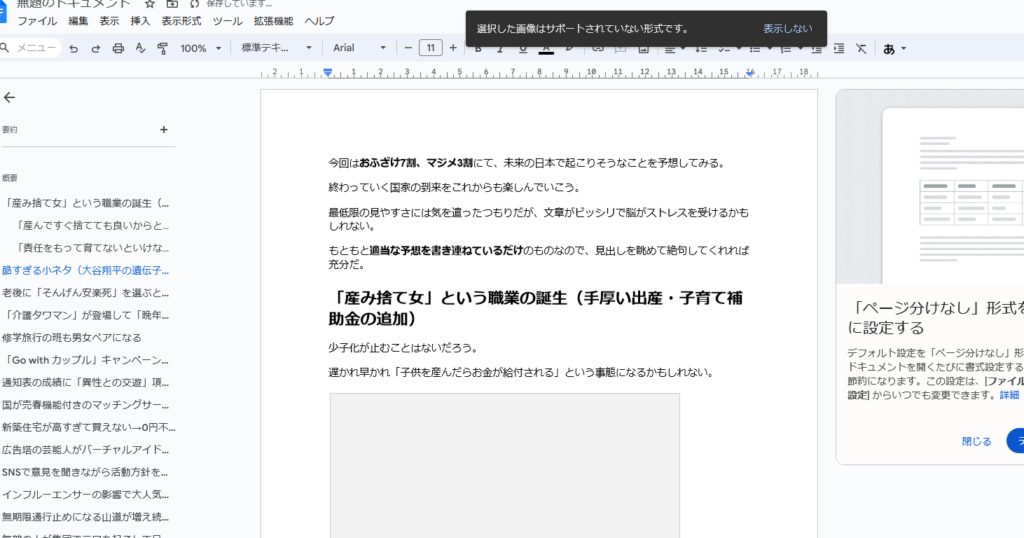
Copy it and paste it into Google Docs.
If you wait, images should come with it.

Certain extensions may not be supported, so we recommend that you check them all.All you have to do is export it as PDF or “.docx”.

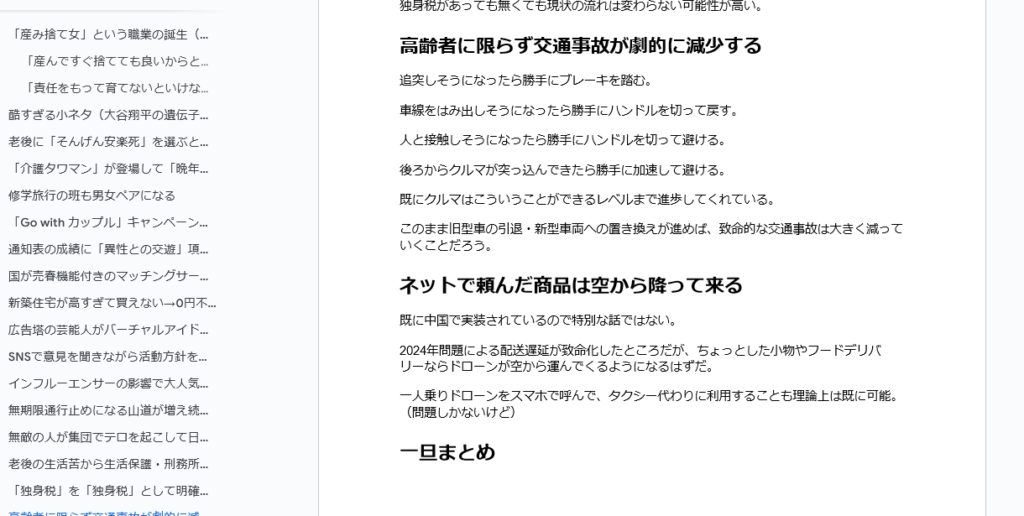
Set headings/table of contents
First, in Google Docs, prepare a few blank lines in the area where you want to insert the table of contents.
All you have to do is select whatever you want from the “Table of Contents” under “Insert” in that blank area.
The one with the rightmost link is recommended.
Just click to jump to the relevant page.

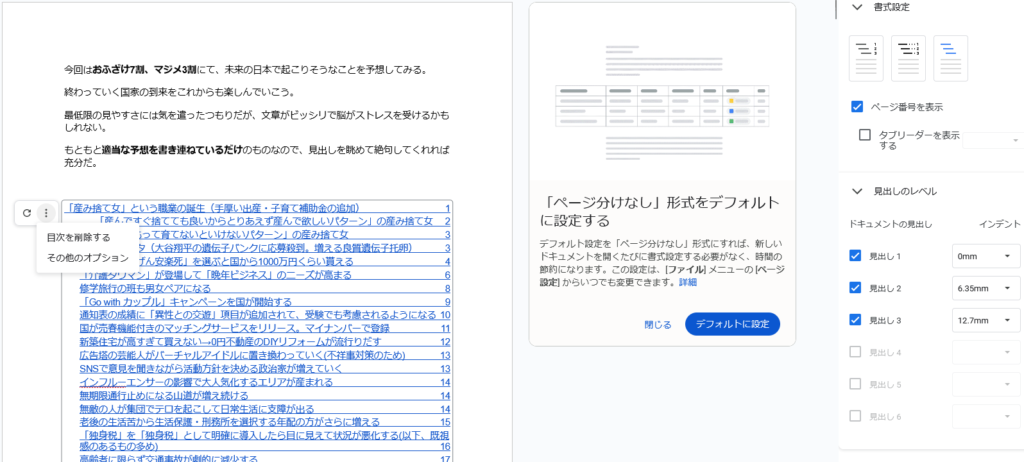
A table of contents like this is generated.

Although it looks tight, this table of contents actually allows line breaks.
It may take some time to break lines many times, but if you are particular about the appearance, you should try your best. I’m too lazy so I’ll leave it as is.

By the way, if you click “More options” inside “:”, you can display the settings menu from the right side of the screen.
You can only change the page number display, the menu that displays “….” at the bottom, and the indent distance.

By the way, if you make changes, they will not be reflected unless you click “Update Table of Contents” yourself.

Export (if it’s .docx, just download it)
All that’s left to do is to export it, but when you upload it to Kindle, if it’s a PDF, a confirmation window will appear asking, “Are you sure you want that extension?”
Even if you select “It’s okay, no problem” and proceed, no particular problem will occur, but you should take this into consideration when selecting the file when outputting.
Now, although I said export, if you want to save it as “.docx” like me, you can just download the summary file from Google Drive.

I was reluctant to download it as an “untitled document”, but for some reason I couldn’t change the file name…

The download will be finished in a seconds.

The file name is (2) because I did the same thing in the past.
If you leave this as is, it will be troublesome, so let’s change the file name immediately after downloading.
How to make the cover (using Yukkuri Movie Maker 4)
Regarding the cover of your Kindle book, if you really want to sell it, the best thing to do is to pay tens of thousands of yen and have a professional designer do it for you.
My concept is to try as many things as I can without spending a lot of money, so this time I’ll try making it using the slow movie maker 4 that I’m familiar with.
It seems that “Canva” is commonly used in the world, but since it has been introduced on this blog, I will not discuss it this time.
First, go to “Video Settings” and set the size to match the book.
A standard A4 portrait would be 2100 x 2970. If processing slows down, cut the number in half.

Make it look just right.
For me, publishing on Kindle is only an incidental trial, so it’s really appropriate.

When you’re done, use the file’s “output thumbnail image” function instead of taking a screenshot.
Note that it only accepts “.jpg”, so set the extension before outputting.

Well, you can easily change the file extension.

Amazon KDPに出版させる
All that’s left is to publish normally.


