There is a TikTok account called “manifestationliveinyou2”.
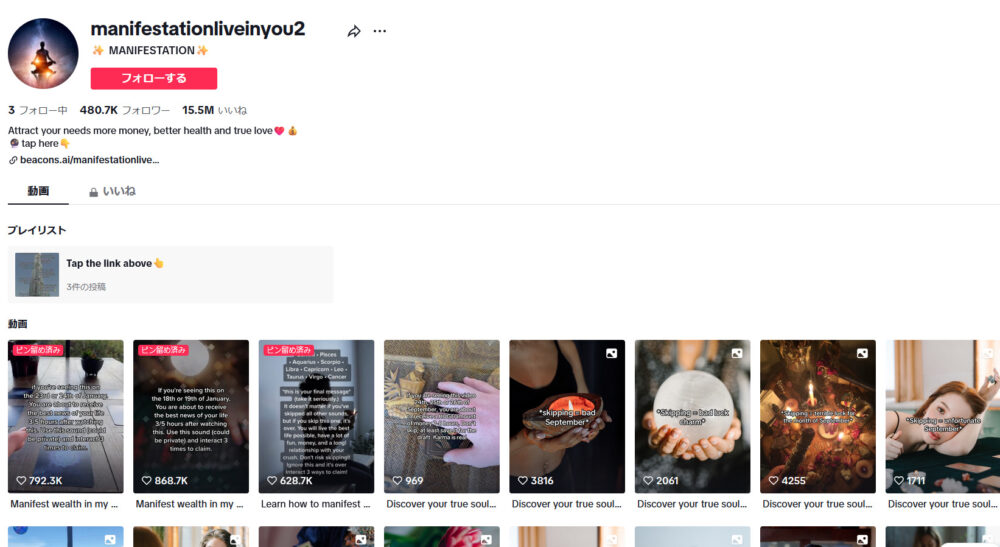

A video was created of an astronaut moving around while mentioning specific years and events.

Here, instruct the user to “add subtitles,” “increase the BGM volume,” and “change the narration to a British woman.”
Add subtitles,make the music louder, and change the voicover to a British female voice.
It was executed properly. It has subtitles and a female voice.
Create YouTube and TIkTok videos at lightning speed using Invideo AI
How to register for Invideo AI
This is a revolution. Get started now.
Turn ideas into videos | AI video creator | invideo AI
Easily register by linking with Google.
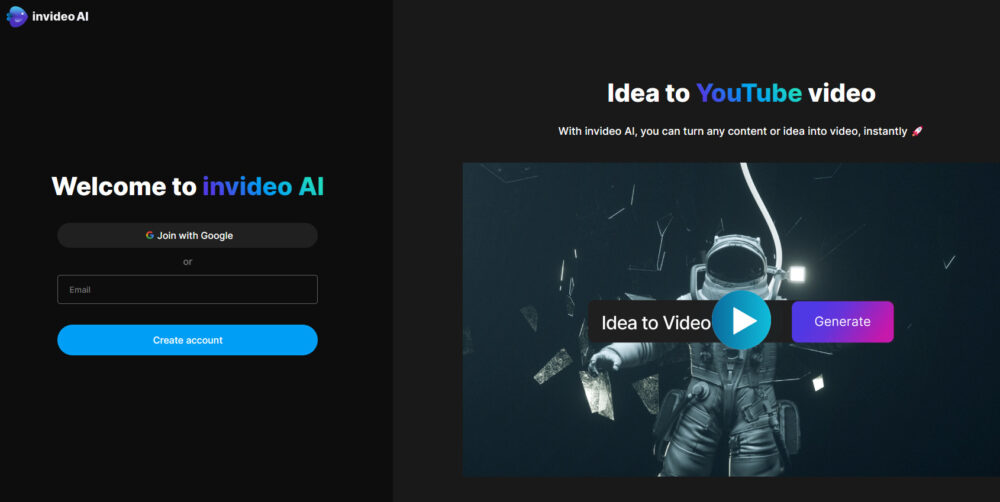
You will be asked how to use it. My predecessor used TikTok, but I chose YouTube.

Set the usage as “Content Creation”.

How to use InVideo AI
Actually, there’s not much to explain about how to use it.
Just write the content of the video you want in the text box that says “Gice me a topic, and detailed instructions…”.

Let’s make a video for YouTube Shorts that is less than 1 minute long.
Enter “Create under 60 seconds video about cats” and click the blue “Generate a video”.

In this case, there will be a waiting time of about several tens of seconds.

I’ll be asked a lot of questions, so I’ll answer them.

First of all, “Audience” is the target for creating videos. You can choose from three categories: cat lovers, cat owners, and animal lovers.
“Look and Feel” is probably the element that determines the atmosphere of the video. There are three options: Minimalist Zen, Bright, and Crisp, but I can’t tell the difference, so I’ll go with the default settings.
You can choose YouTube, Instagram, or Facebook under “Platform”.
Video generation has started.

Surprisingly, a beautiful video was generated.
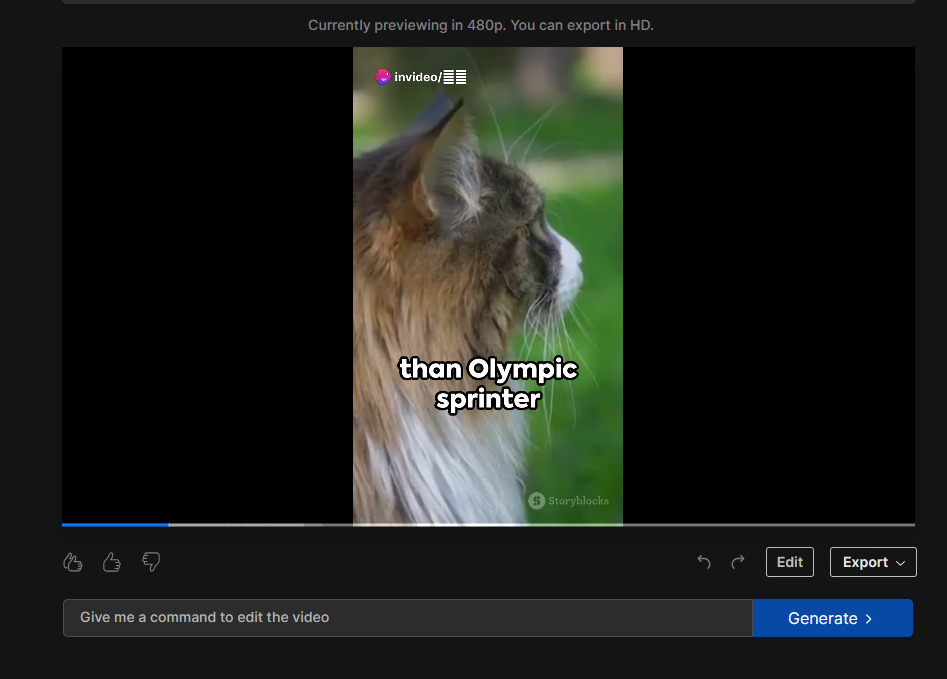
If you like the video, click the small “Export” button above the blue area and click “Export video” that appears.
If you select the part without the crown mark, you can download it for free.

However, the service name mark cannot be erased and there are limitations on image quality.
Since it is a revolutionary service, we recommend that you register for a paid plan and use it as much as possible.
Let’s just download it for free.
Click the “Continue” button.
Then you will be redirected to the screen below, so click the blue “Download” button and wait for a few to 40 seconds.
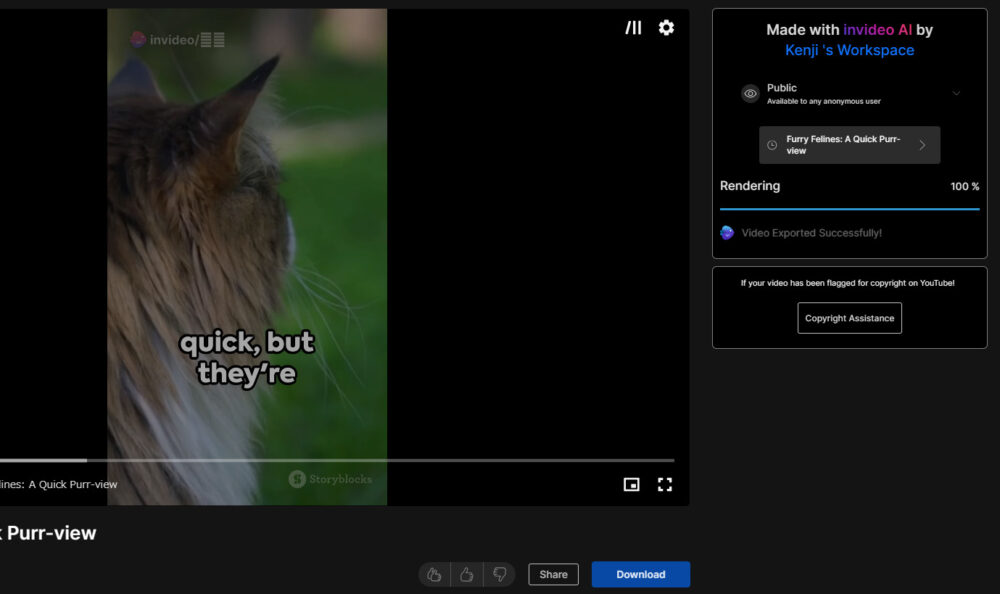
It downloads beautifully.

After you download the video, post it on your favorite platform as you like.

About the free plan watermark
You may not notice it when you play it for a while, but as you can see, the copyright notice is placed in the middle of the screen. .
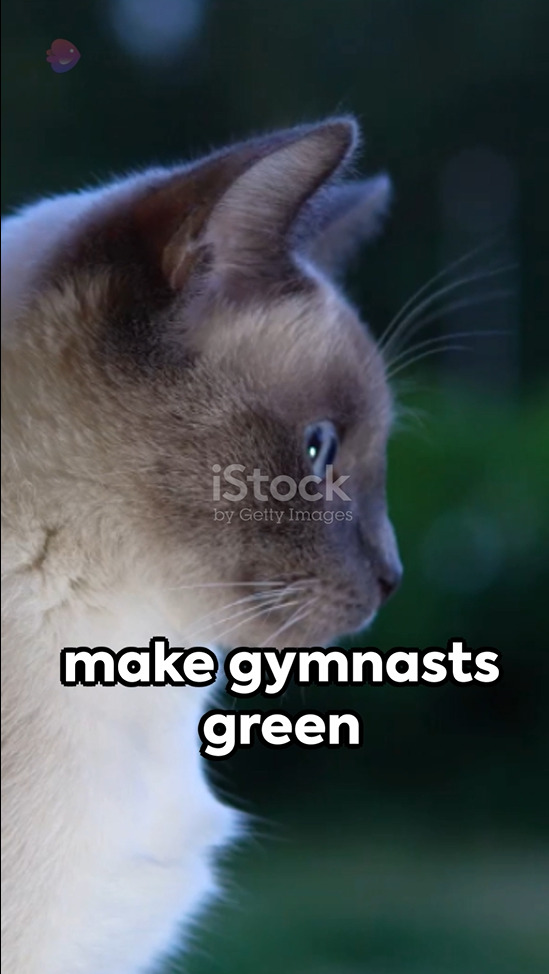
Or there are thin letters in the upper left and lower right.
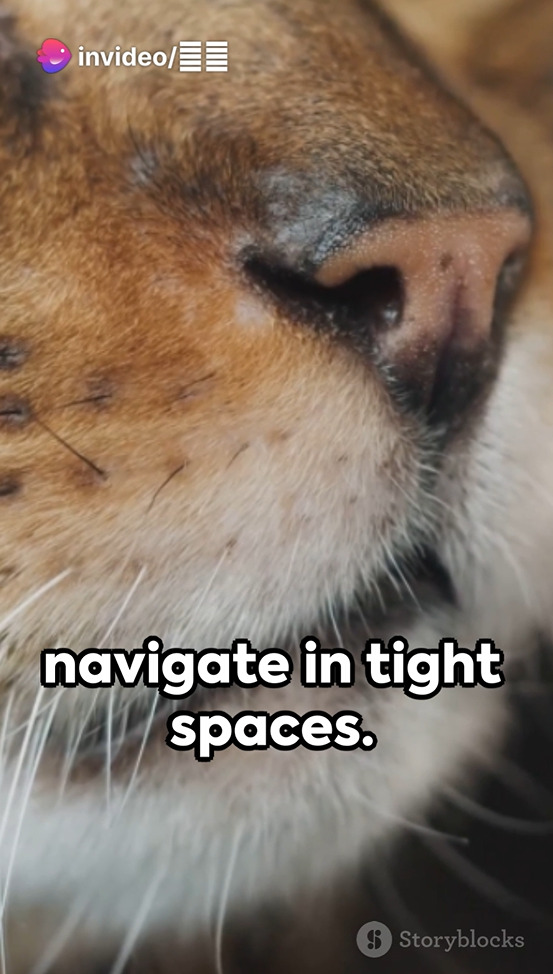
It’s not a big investment considering the huge returns you can get, so it’s better to go for a paid plan.
If you are struggling to come up with 2,000 to 4,000 yen per month, I think you can start for free.
How to register for paid plans and costs
Select the crown mark on the image quality selection screen from earlier.

Then you can select “Upgrade” at the bottom right.
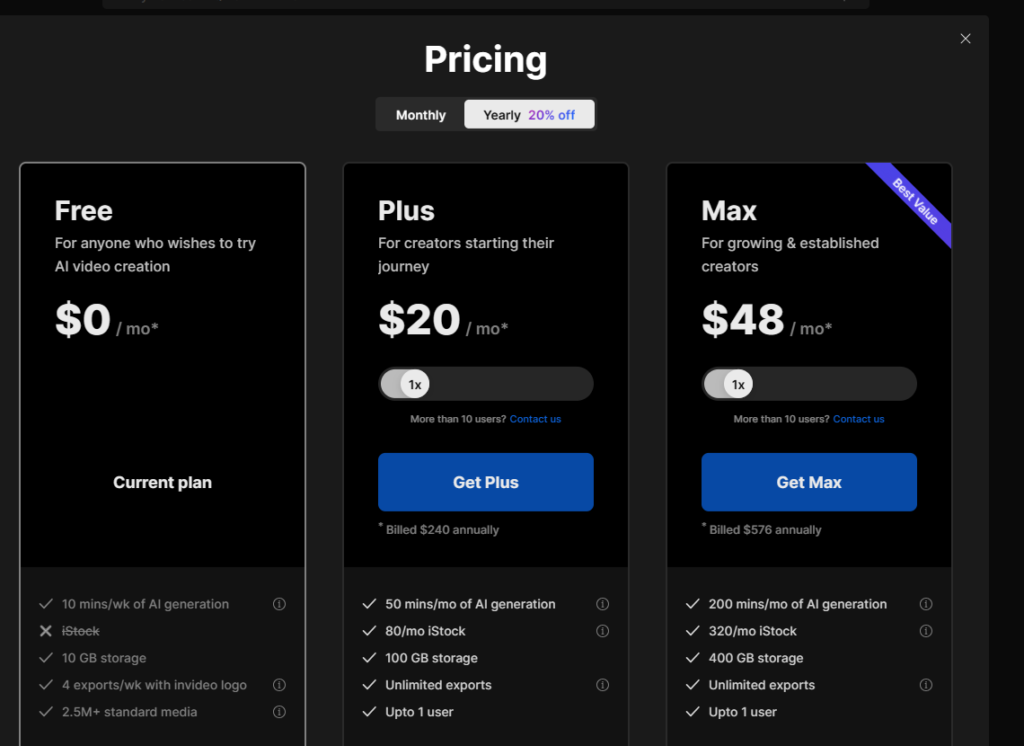
Please note that you can switch between monthly and annual billing at the top.
Annual billing is cheaper, but I don’t know if I will continue to use this kind of service for another year until I see the results.
Starting a YouTube channel without showing your face or making a sound
From here, I will start working on my plan in earnest. Let’s come back from “Home” in the upper left.
How to generate regular YouTube videos

At the top right of the generation screen earlier, there is a pull-down menu that says “Select Workflow”, so select “Youtube Explainer”.

Various menus will be displayed.

The first ○○ part of “Create a ○○ Youtube video about” selects the video time. 1 minute is fine.

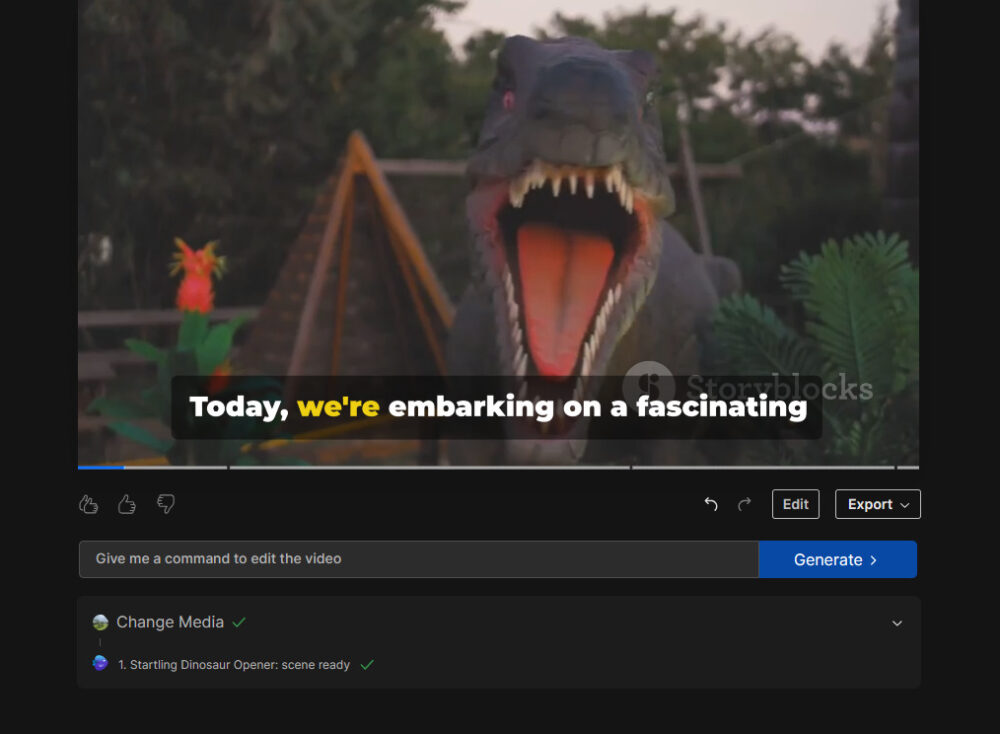
I wanted to make a video about dinosaurs, so I ordered a video about things that no one knows about dinosaurs.

You can add various additional items in the field below, but this time I’ll just incorporate the part “Make it funny, engaging, and dynamic.”

The next field is the specification regarding BGM.

I wanted to add epic music, so I added “Magnificent”.

In the fields below, configure settings related to narration, specification materials, and subtitles.

I chose the voice of a middle-aged British man for the narration.
It would be nice if the careful pronunciation and calm voice matched…

The second field allows you to set subtitles. In addition to just turning it on and off, you can also add editing that changes the color of the spoken part, like karaoke.

Numbers 3 and 4 are about watermarks and material usage. I haven’t changed it.

When everything is complete, click “Continue” and wait.
How to edit the video after generating it
You can send various commands to the text box next to “Generate” on the completion screen.

“Change the BGM”, “Increase the number of materials”, etc.
Click “Edit” on the completion screen again.
You can replace video materials with “Edit Media”.
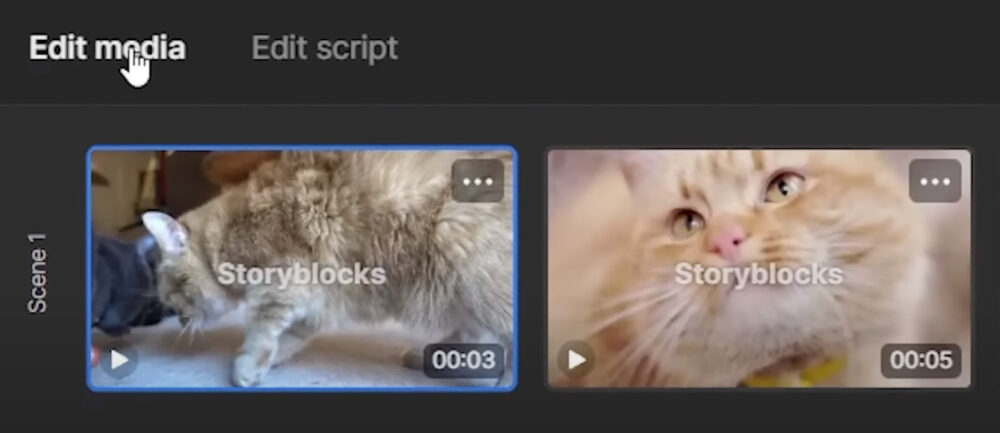
You can also edit the manuscript using Edit Script.

Try replacing the video at the beginning
The opening part is especially important for attracting viewers, so let’s look for something good.
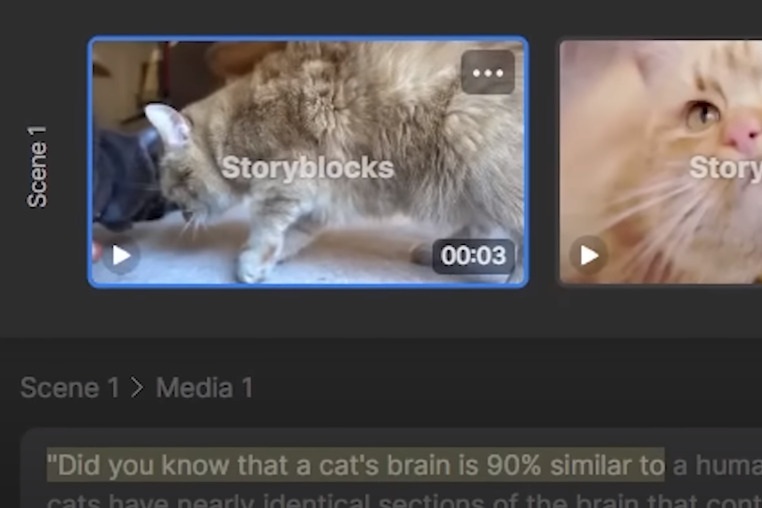
“Edit Media” looks like this.
Isn’t there a search box under the text?
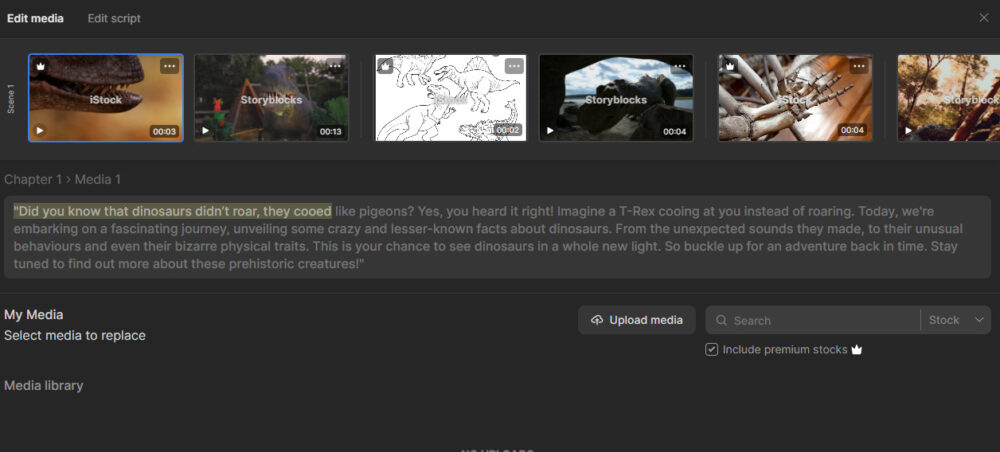
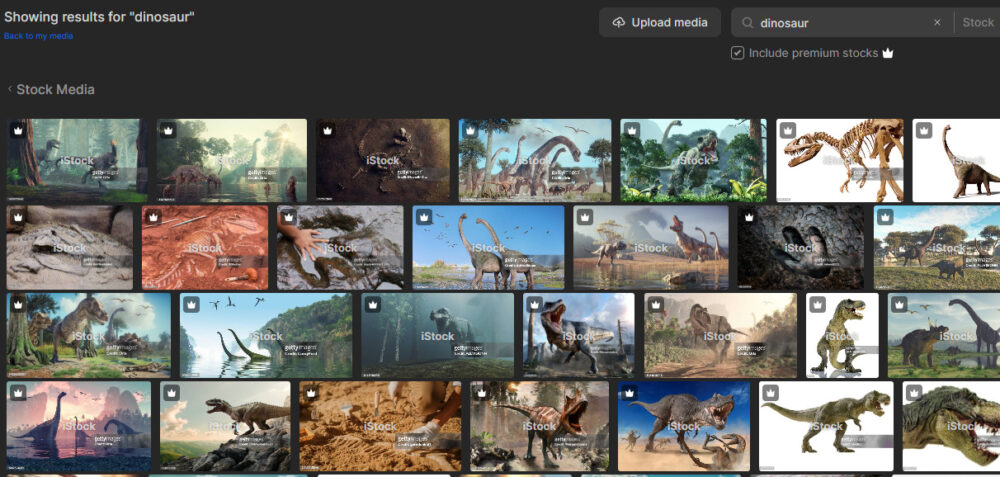
If you enter a search word here, a list of search terms will come up.
Choose one good one.
Updated with just one click. Apply by clicking “Apply Changes” on the bottom right.
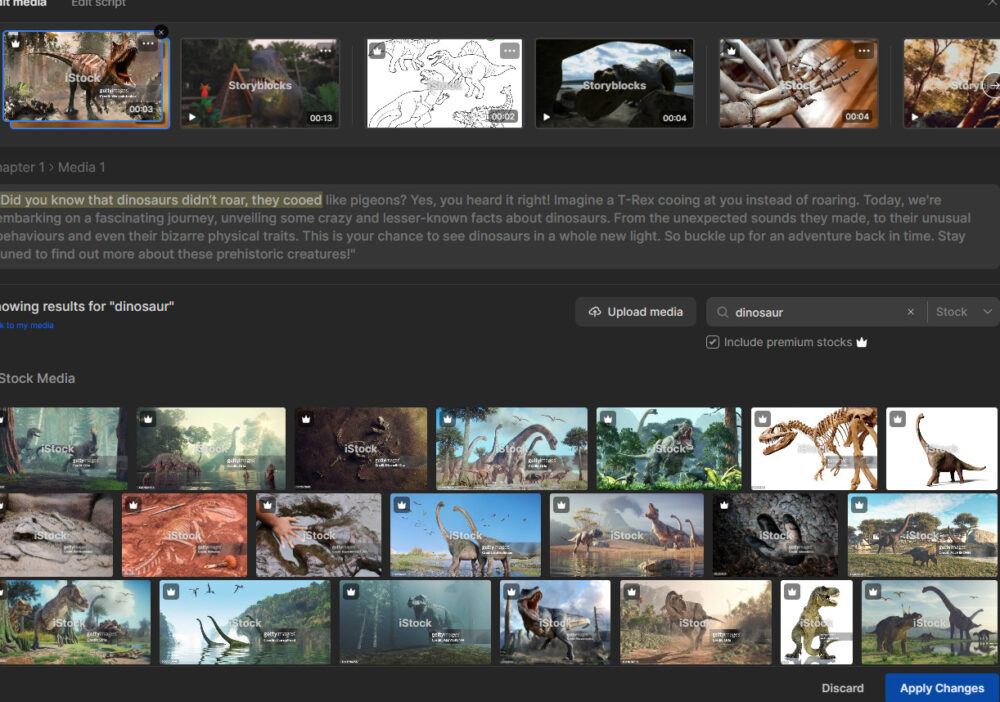
The result was as dramatic as expected.
Click here to register for a paid plan and download.

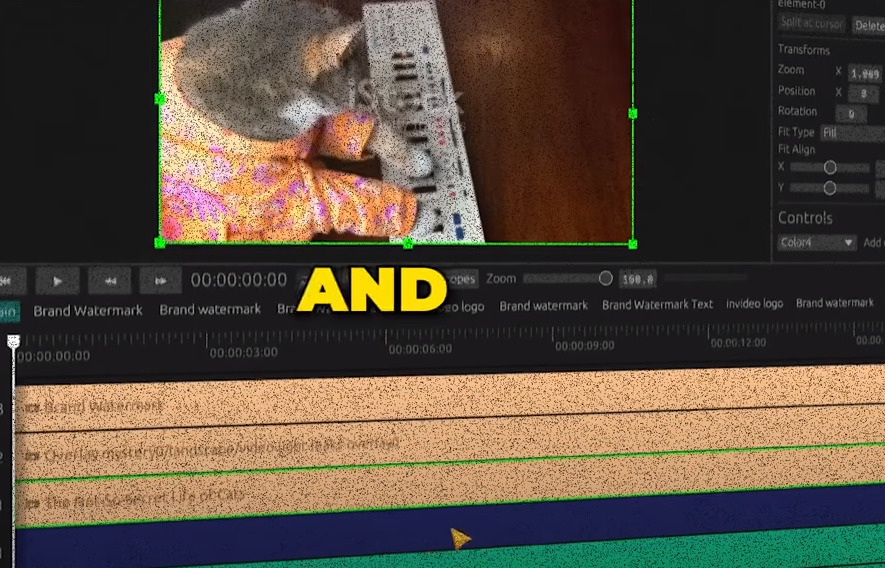
By the way, there is also a function called “Export project to timeline”, which allows you to export it to video editing software.

This is useful because I wanted to do additional editing to add a human voice as an AI countermeasure. No, I don’t need it…?
All that’s left to do is post.
Summary
In this article, we explained how to create videos fully automatically using a service called InVideoAI.
Although it has only been around for a short time, I feel that it is likely to bring about a major change in the YouTube world.
Over the next few weeks, I’m going to secretly try to do a lot of things.


コメント