
This blog has finally exceeded 450 articles, but there is a fatal problem: “We have not been able to expand overseas.”
Since the translated articles I have been creating are not working well, I decided to take the plunge and create a dedicated overseas website.
- Set up your site
- Set up a WordPress blog
- Introducing the WordPress theme “Cocoon”
- Install the plugin
- Generate sitemap
- Register for Search Console and Google Analytics & install SiteKit
- Set up the inquiry form
- Create a privacy policy page
- Display fixed pages together in footer etc.
- Change the site language to the translation target
- Create a self-introduction page for the administrator (optional)
- Posting articles
- Get AdSense reviewed
Set up your site
Prepare the domain
I am using the domain and rental server for this blog from Onamae.com.

You can easily go to the top page from the PR link above and enter the domain you want in the text box.
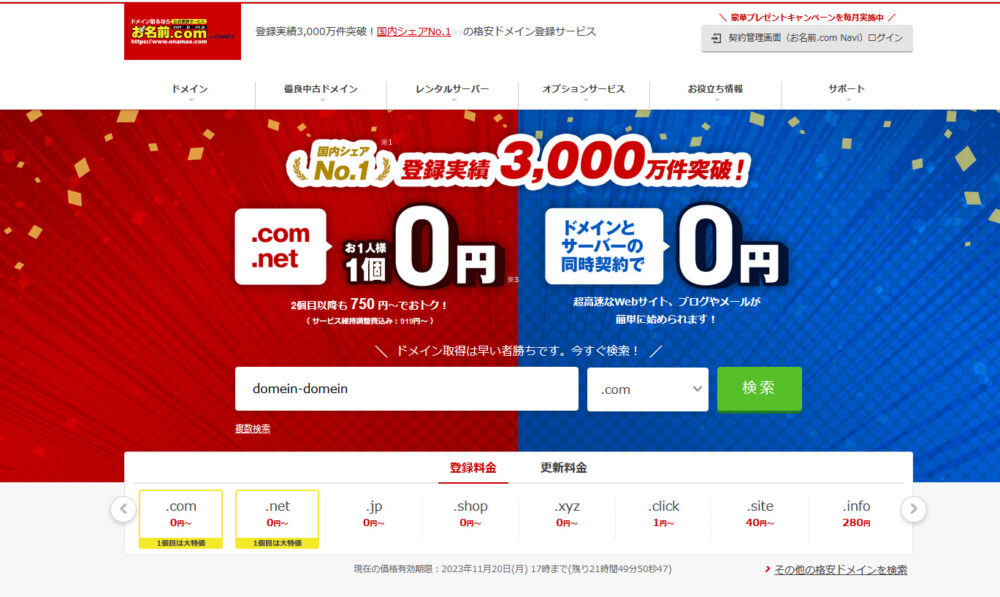
Let’s acquire here appropriately. I could have used a cheaper one, but I chose “.com” safely.
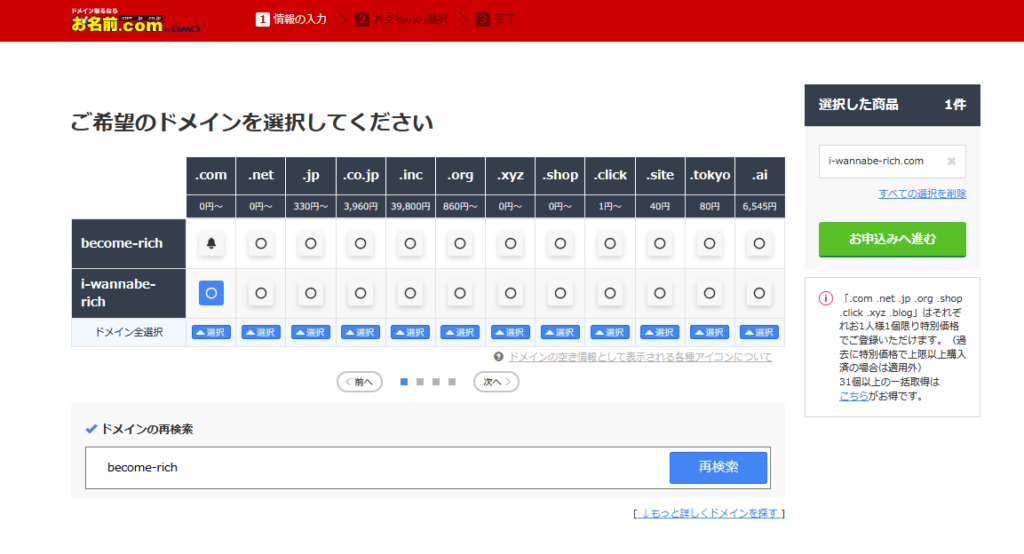
There were a lot of unknown errors, but somehow I managed to get the domain.
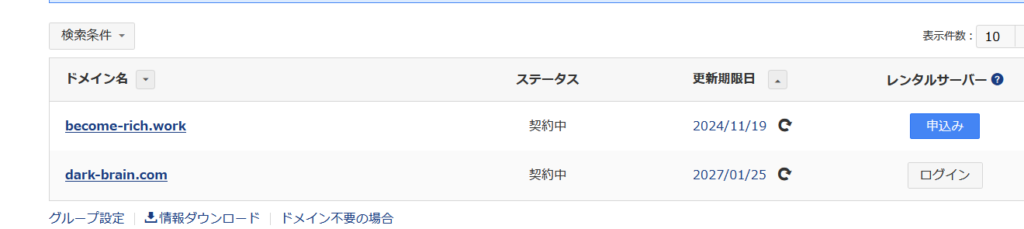
Prepare a rental server
I also manage a rental server at Onamae.com.
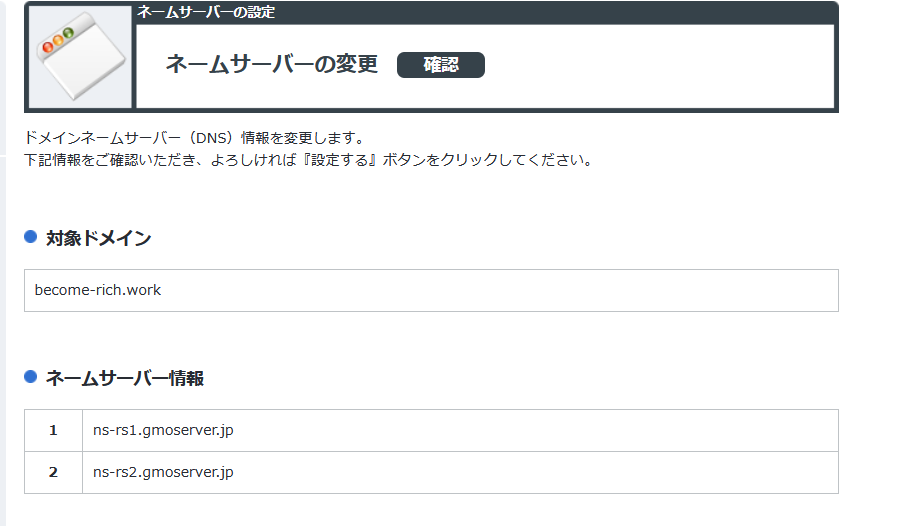
Since you already have a rental server, let’s set the name server there.
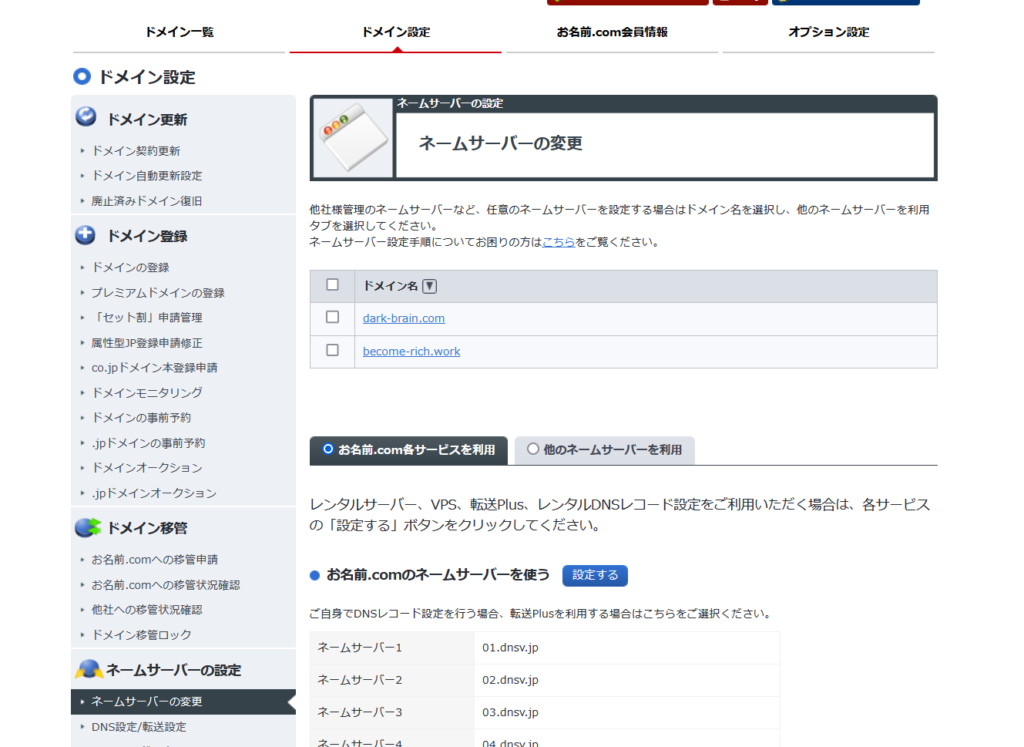
Use the name server RS plan.
It will take quite some time after changing the name server for it to be reflected, so don’t worry and wait.
Install WordPress
I came to the control panel of Onamae.com rental server.
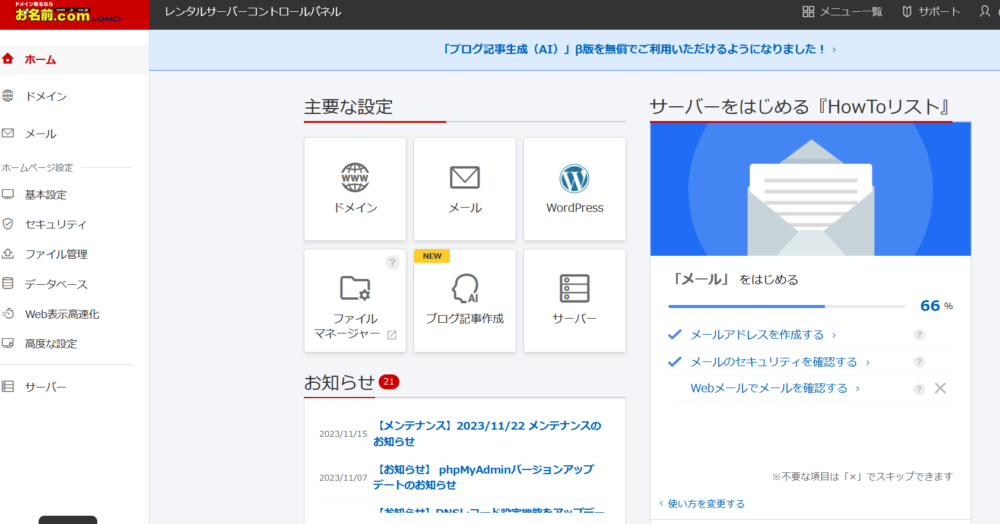
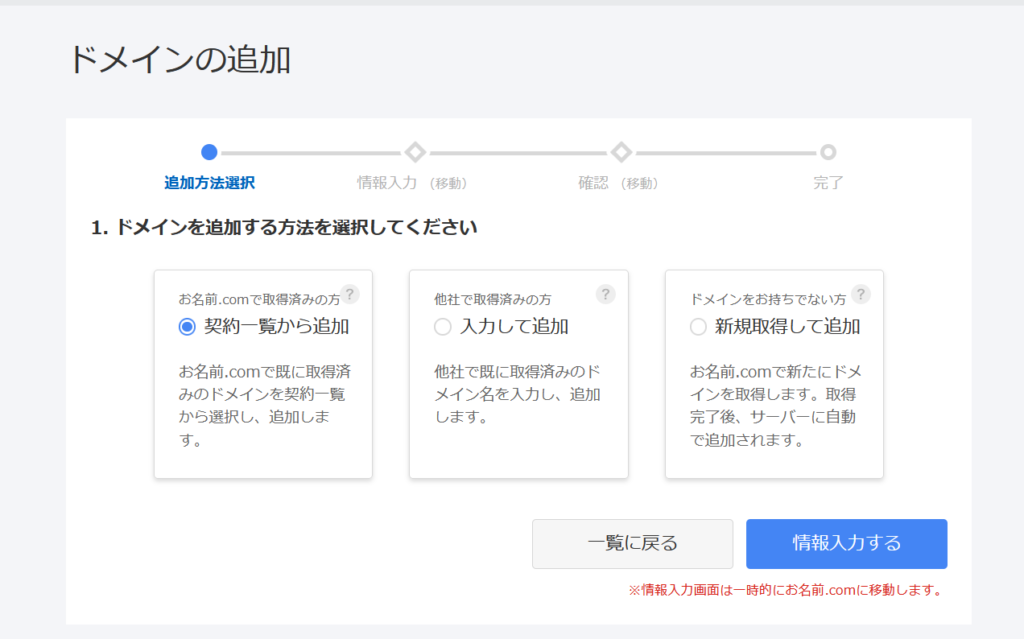
For now, let’s add a domain.
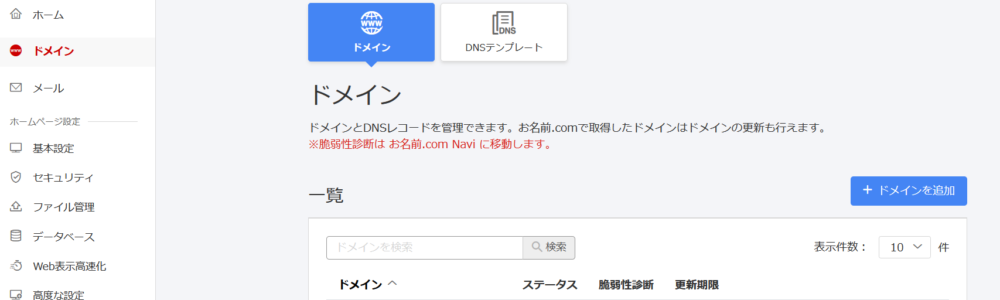
Open the page that says “Domains” in the upper left corner and click “+Add domain”.
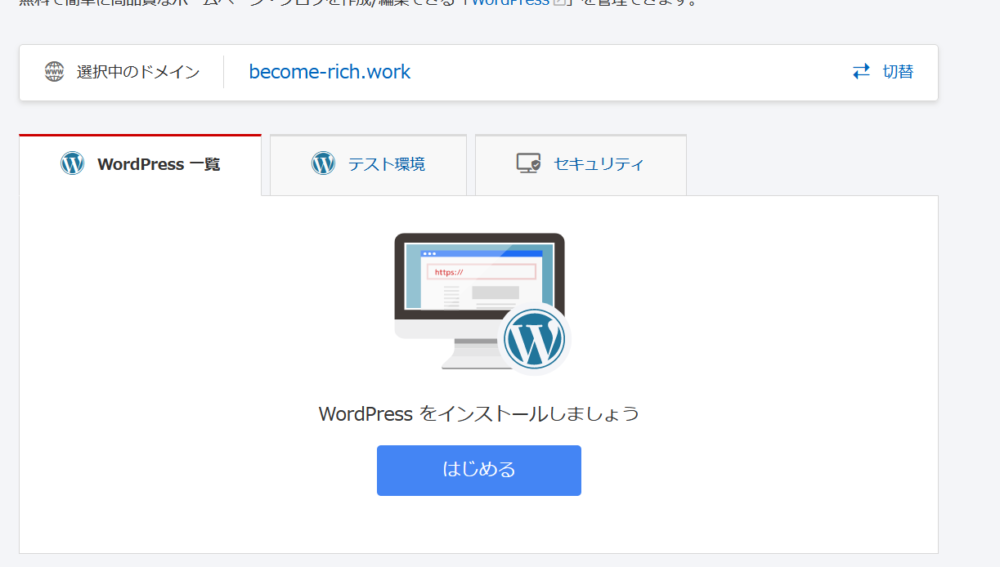
Once the domain has been added, open the WordPress menu.
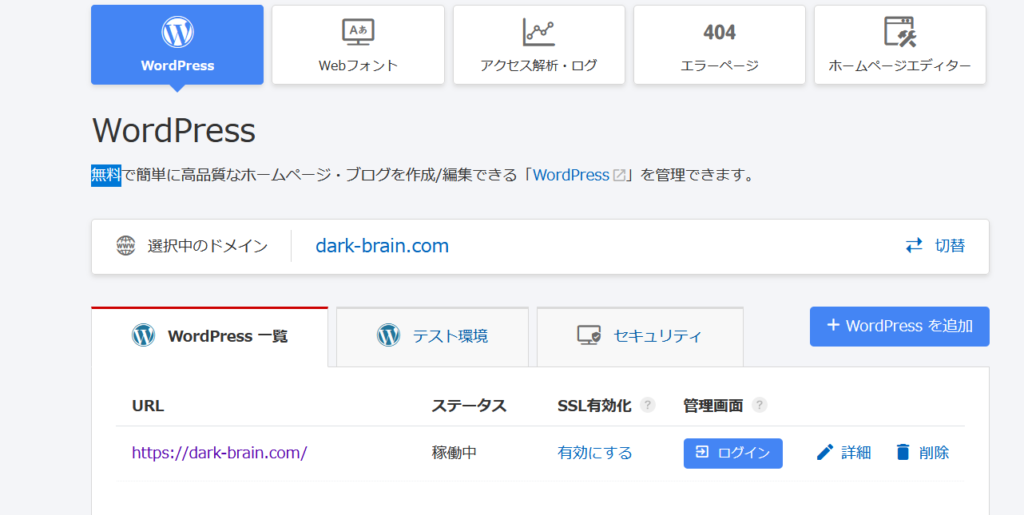
The important thing to note is that you have to select a domain and press “Switch”.
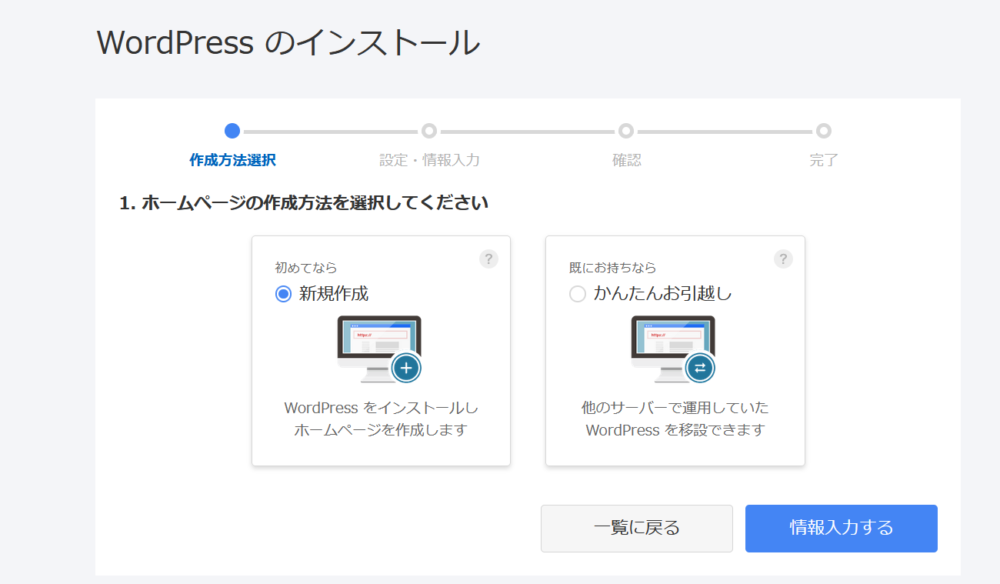
Select new creation.
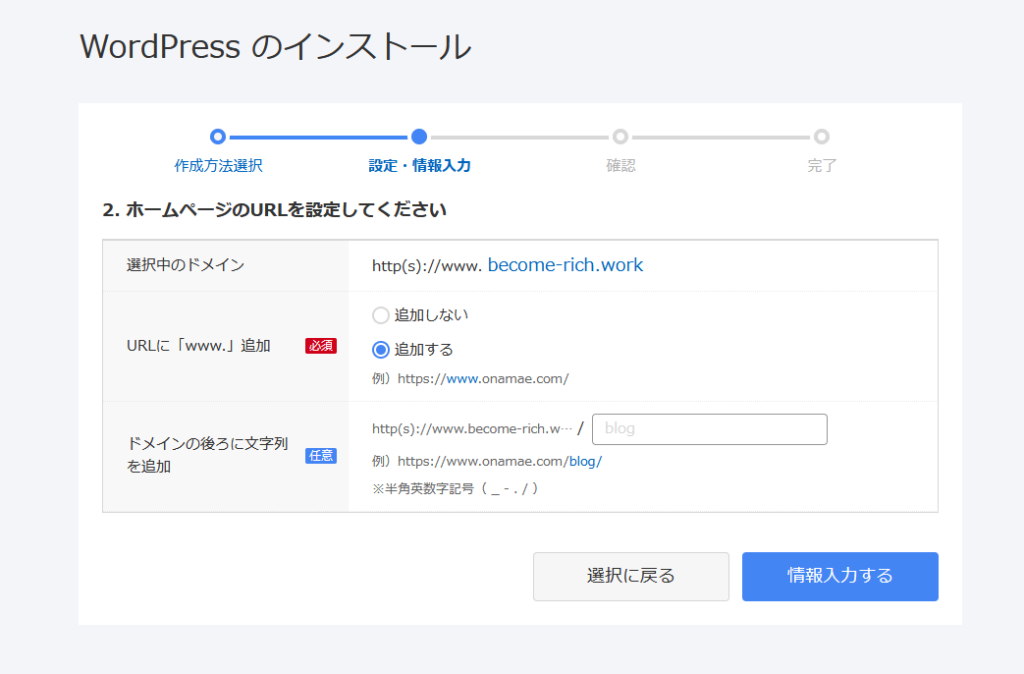
Now let’s set it up. You will be asked if you want to add “www”.
Enter the information used for login.
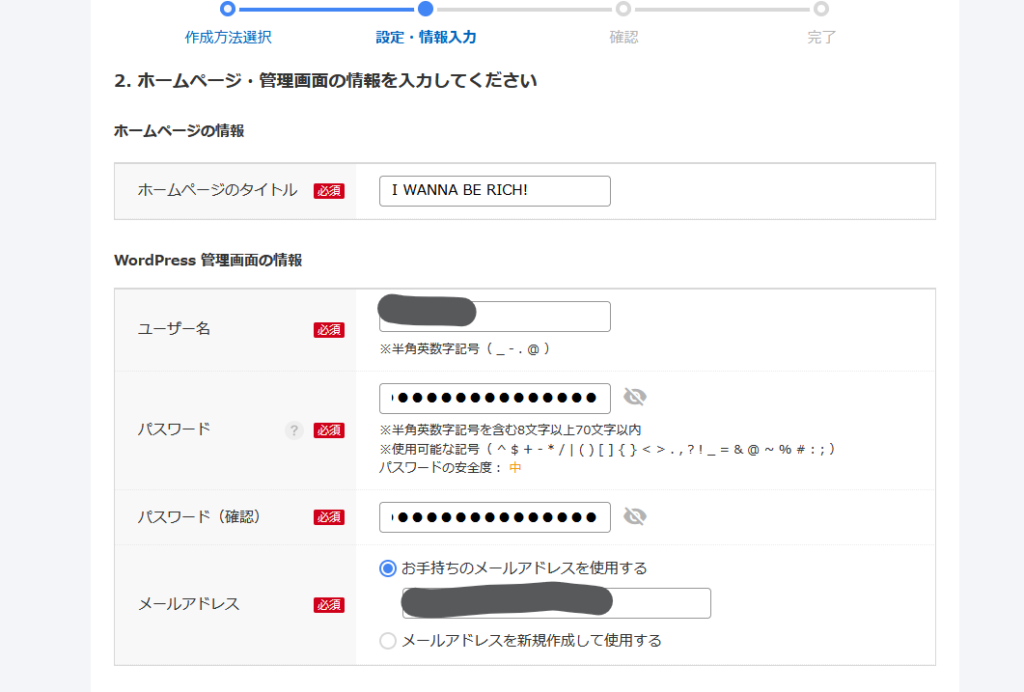
After a while after completing this setting, you will be able to log in to WordPress.

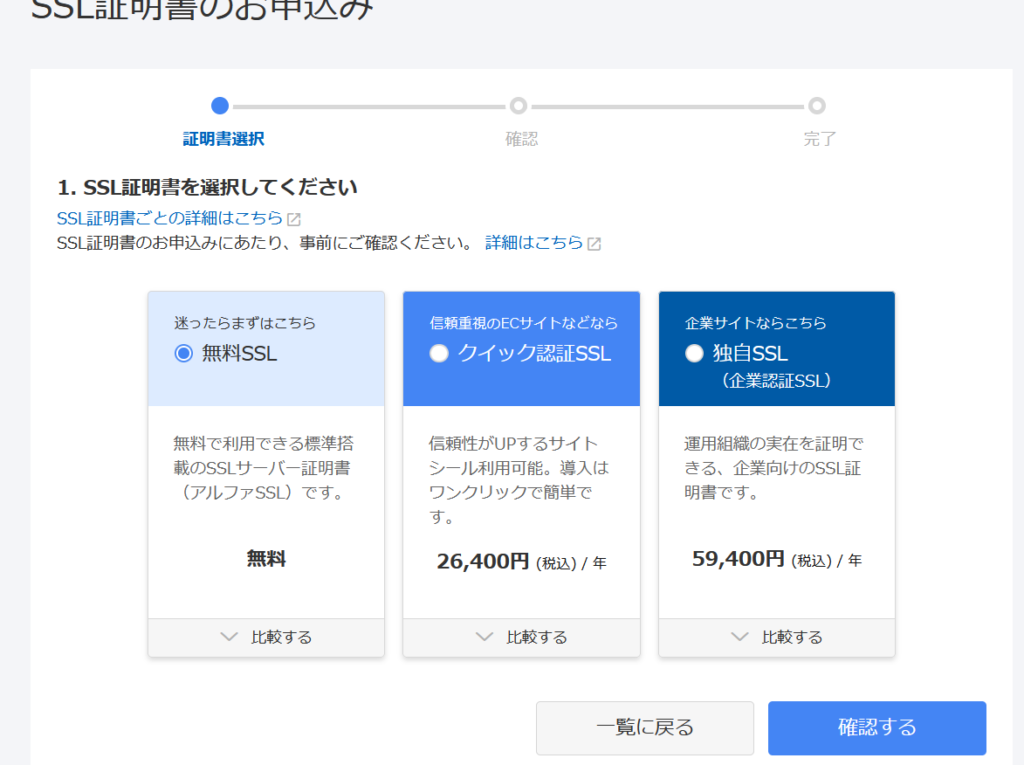
Set up SSL and make the link https
Open the security page and click the blue “Apply” button.

It’s free, so let’s implement it quickly.
Set up a WordPress blog
From here, we will proceed with article creation and various site settings in parallel.
There are many things that I have forgotten myself, so I go forward while remembering the early days of the project.
Introducing the WordPress theme “Cocoon”
First, let’s install a WordPress theme.

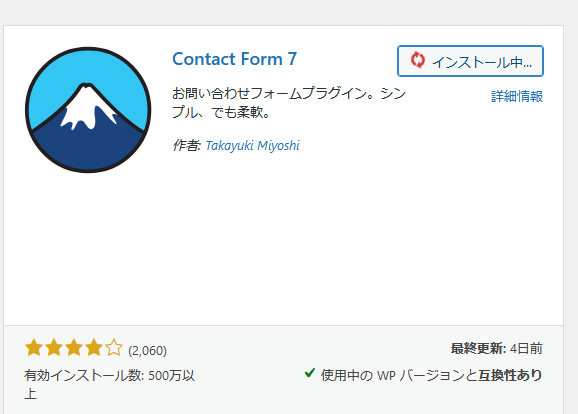
Install the plugin
There are several plugins that are essential for managing inquiry forms, security, etc.
Introduce what you need by remembering, researching on the internet, or referring to the list of plugins on your blog.
Generate sitemap
Create two sitemaps, one for search engines and one for readers, using the pages below as a reference.
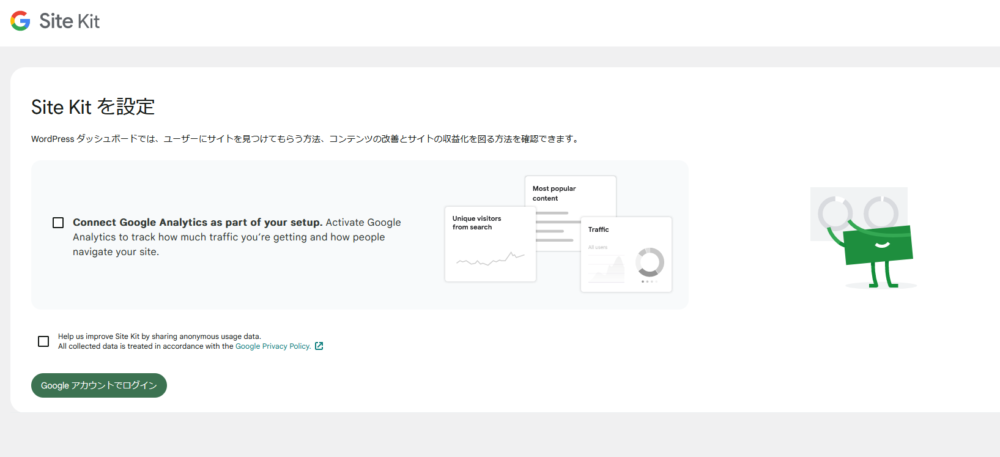
Register for Search Console and Google Analytics & install SiteKit
If you use a plugin called Site Kit, managing this area will become much easier.
If you pass the AdSense review, you can check your earnings daily.
Set up the inquiry form
Let’s set up a fixed page for the inquiry form by referring to the site below.
Create a privacy policy page
In my case, a template for the privacy policy page was created by default, so I published it as is.

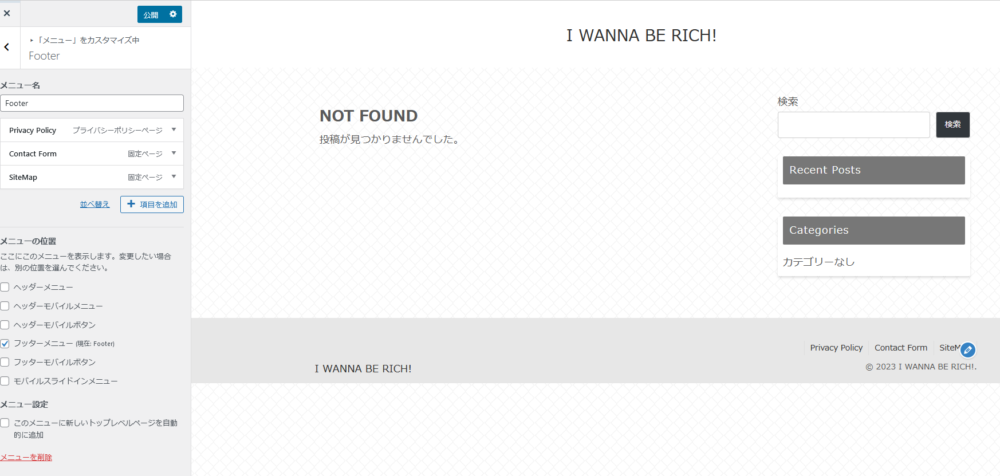
Display fixed pages together in footer etc.
Use the appearance customization page function to display the privacy policy, inquiry form, and site map.
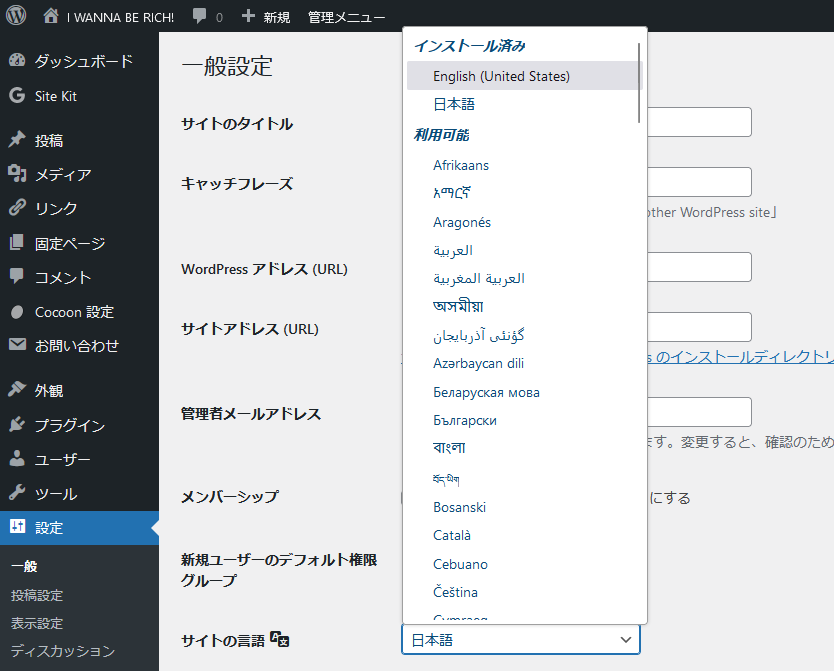
Change the site language to the translation target
Let’s set the language to English from the settings page.
Create a self-introduction page for the administrator (optional)
It is something that is said to be “better to have.” It might be a good idea to write this before and after the AdSense review.
Posting articles
Finally the real thing.
Copy and paste existing English articles: Use the export function.
Before translating, let’s make use of what we already have.
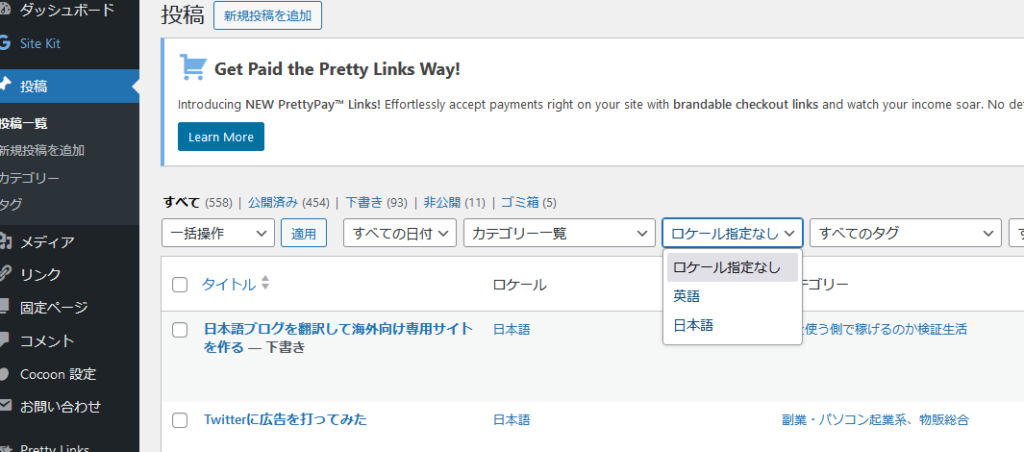
First, select only English articles from the locale specification on the post list page. Don’t forget to press the “Search” button on the top right.
Assign specific categories and tags to all articles so that you can select them when using the simultaneous export function.
For now, use the checkboxes on the left to select them all at once.
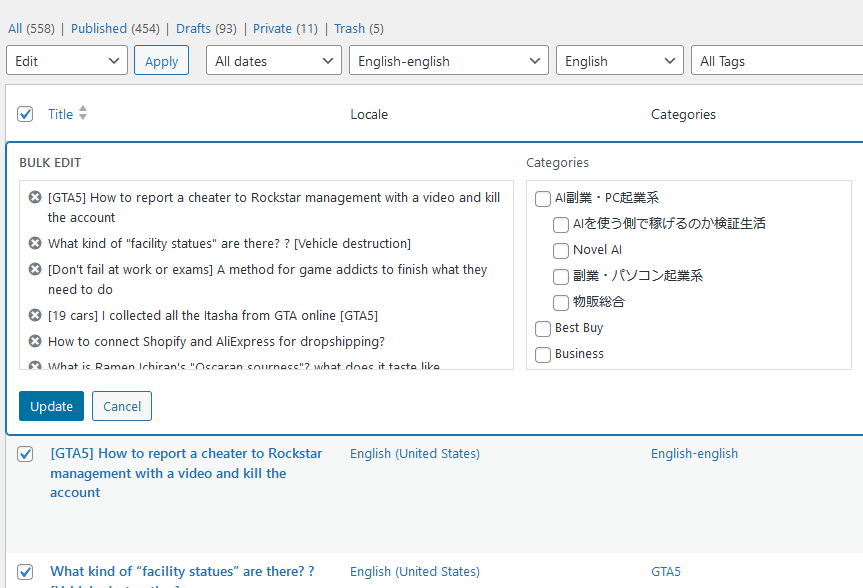
Search for the tag you want to add and click “update”.
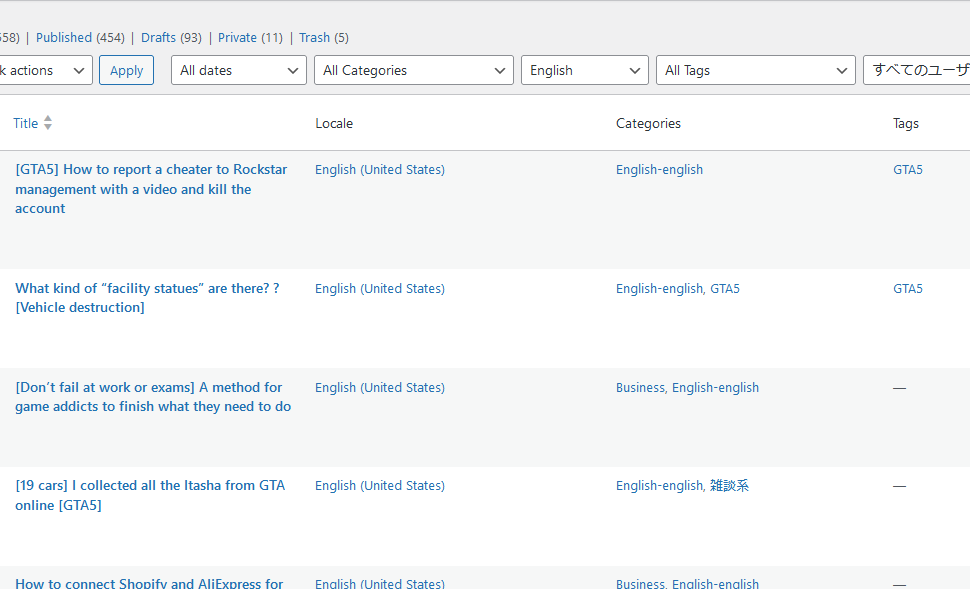
All added.
Now, select “Export” from “Tools”.
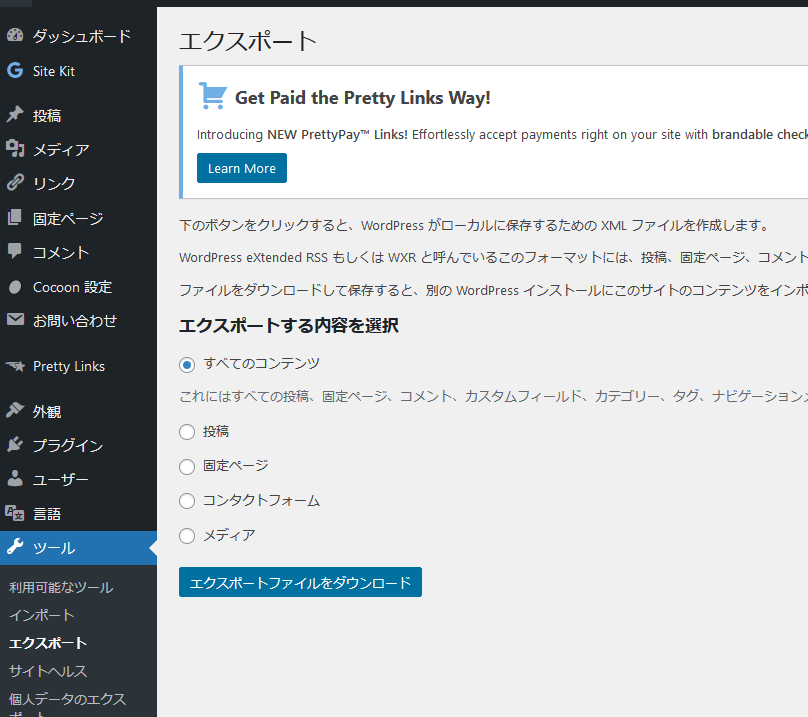
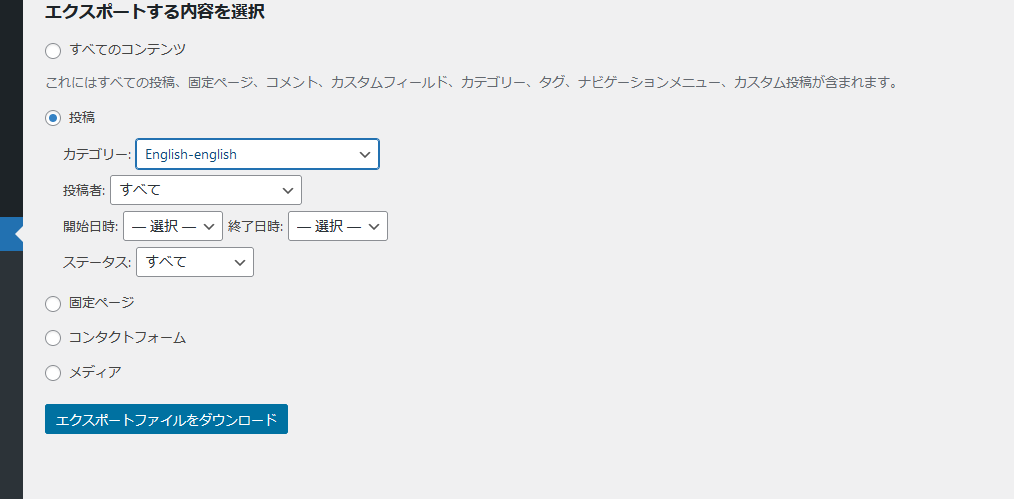
Select a category from “Posts” and “Download export file”.
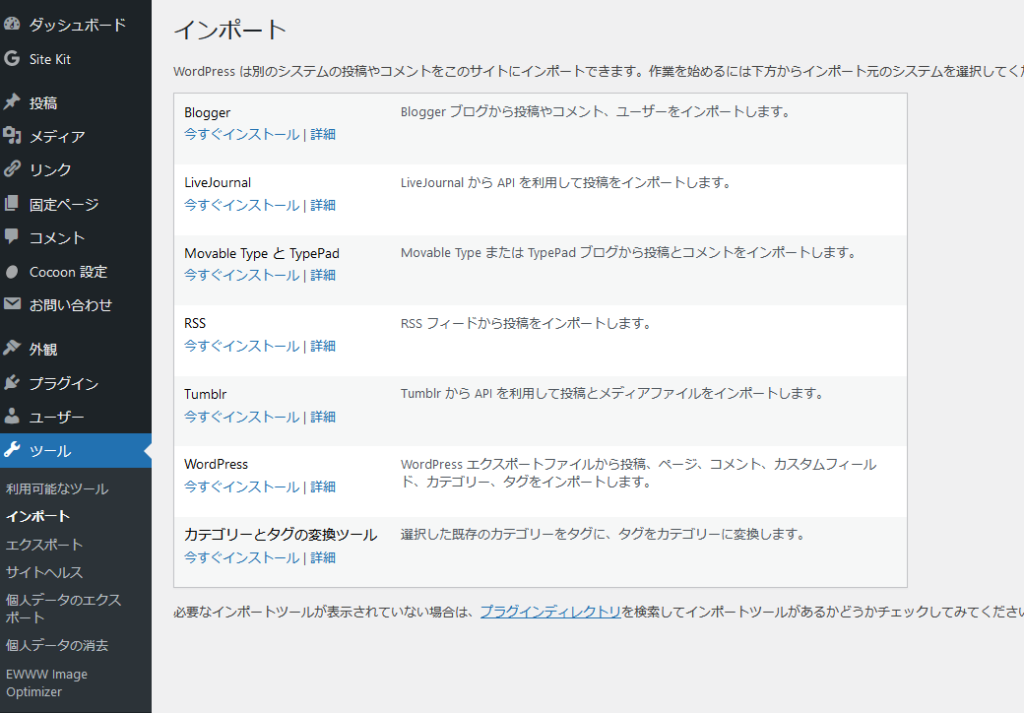
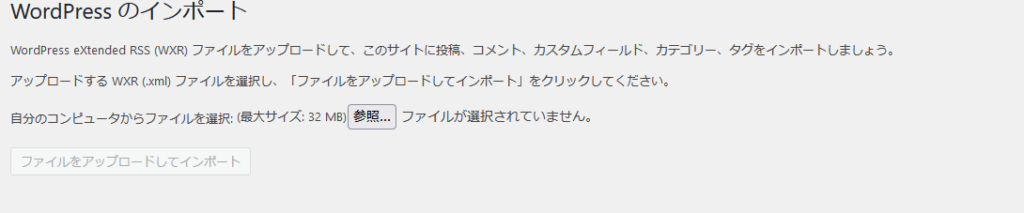
Open the “Import” page of “Tools” for the site you want to import.
Click “Install now” under “WordPress”.
After waiting for a while, the message “Importer installation has been completed” will appear at the top, so click “Run importer” next to it.
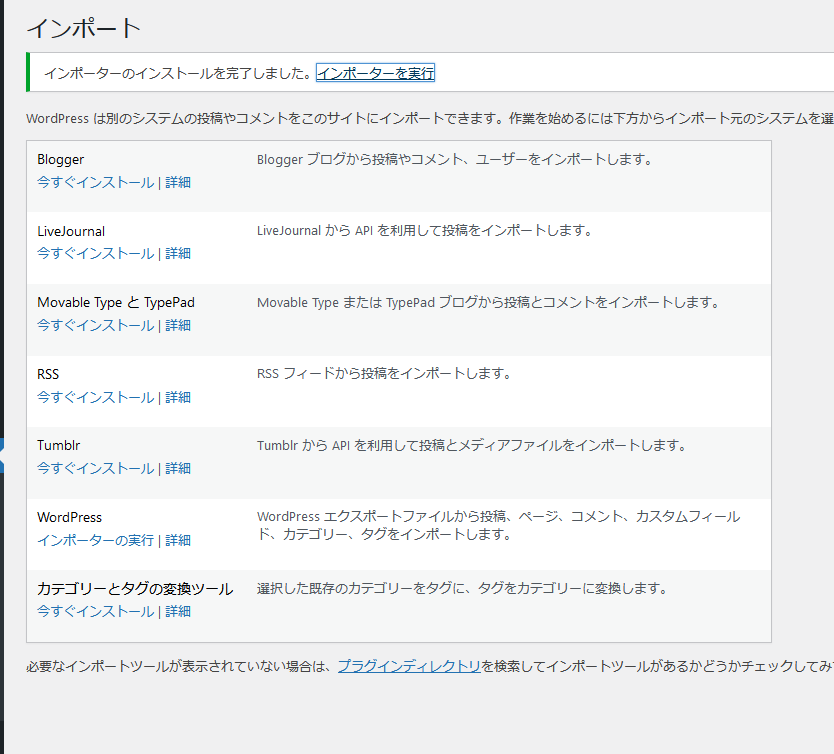
The import screen will appear, so click “Browse” to select the file you just downloaded.
A large amount came out.
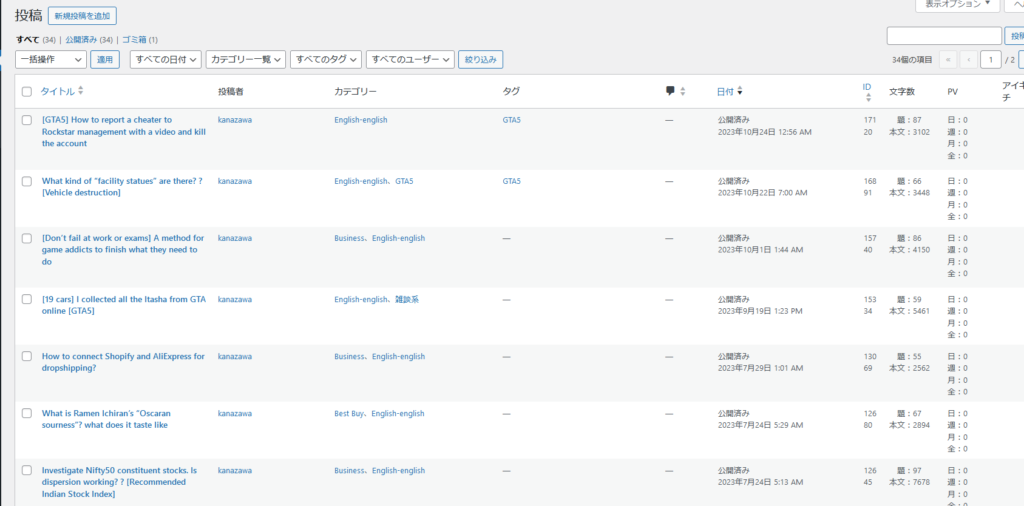
These articles have already been published.
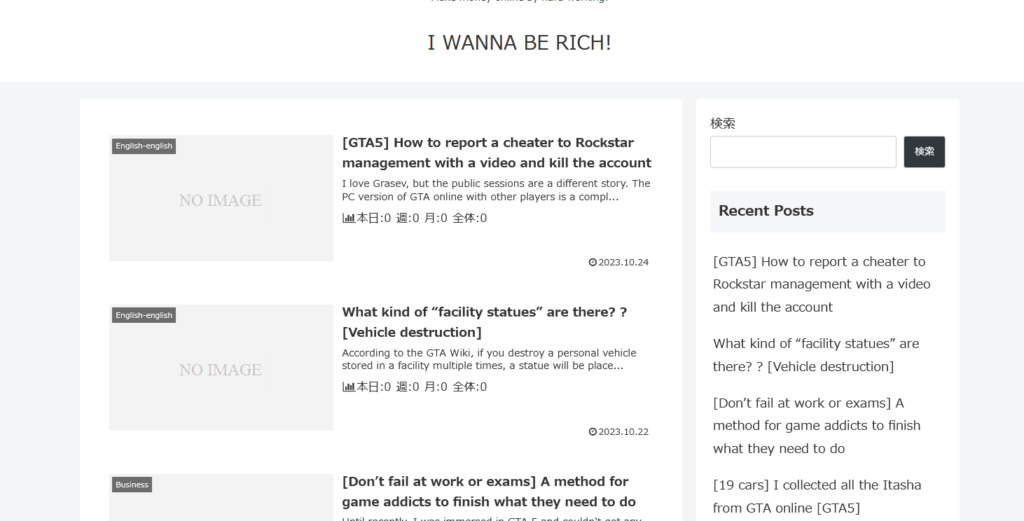
Although eye-catching images have not been set, the images in the main text have been properly adapted.
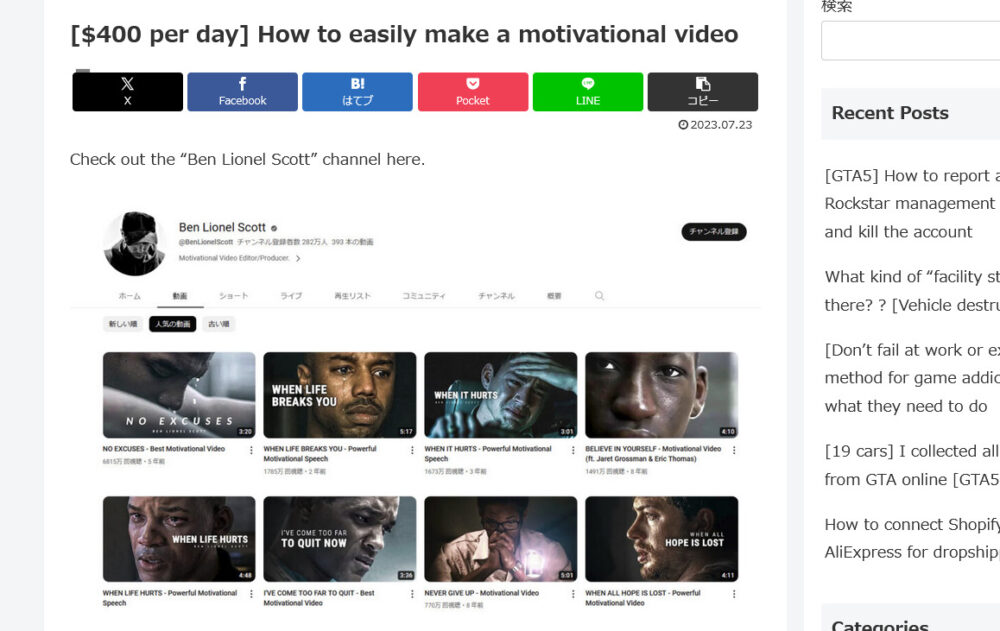
Now, adjust and check the eye-catching images, categories, internal links, etc. of individual articles.
After moving the featured image, don’t forget to delete the source article and language switch.
We also recommend checking all articles individually.
For identification purposes, I decided to add an “uncategorized” category to all unchecked articles.
Since articles are not indexed immediately after import, register them in Search Console as soon as the inspection is complete.
Translate new Japanese-only articles
This method is explained in detail in the article below.
Get AdSense reviewed
Since you just translated a blog article that has already passed the screening process, there is basically nothing to be afraid of.
Let’s review the rules and the basic structure of the blog just to be sure.


コメント